Adding an Action in the Terminal
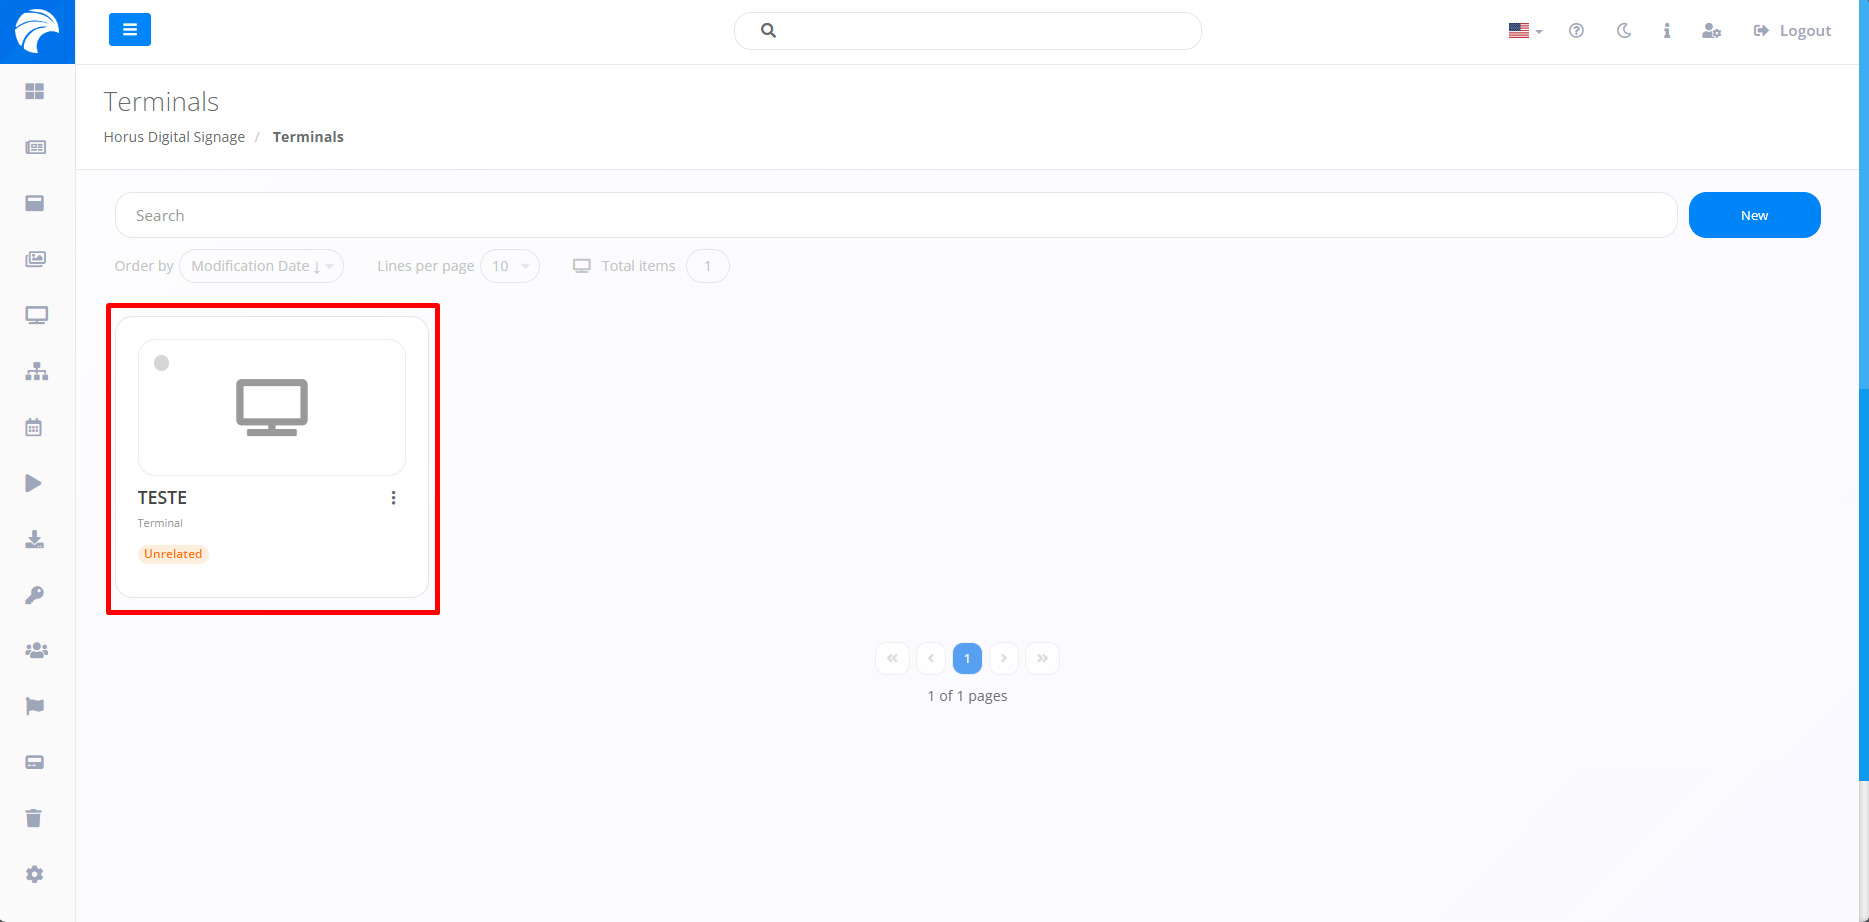
By following the steps described previously, the Terminal will be registered. To add an Action (Campaigns, Scheduler or Group of terminals), you must access a previously created Terminal in which you want to include the type of action, according to your preference.
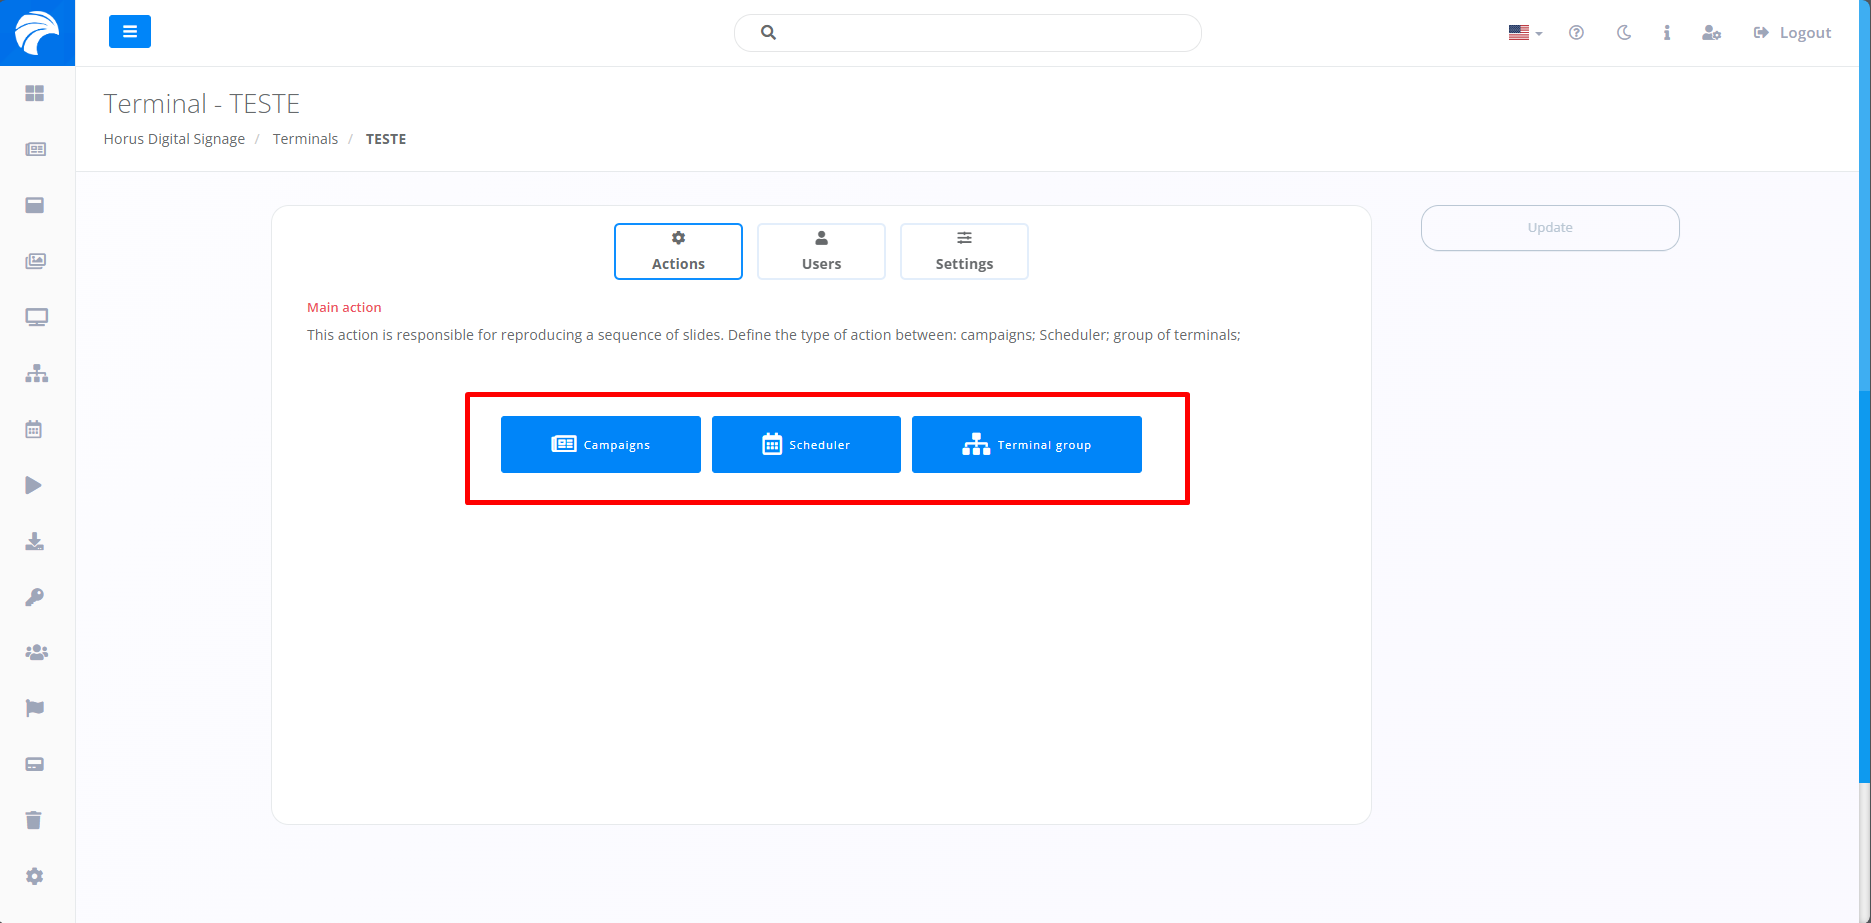
After creating or accessing a Terminal, the system will display the Terminal Interface, in which you can add an action type by clicking on the appropriate Action Type you want. Remembering that the same procedure is used for all types of actions.
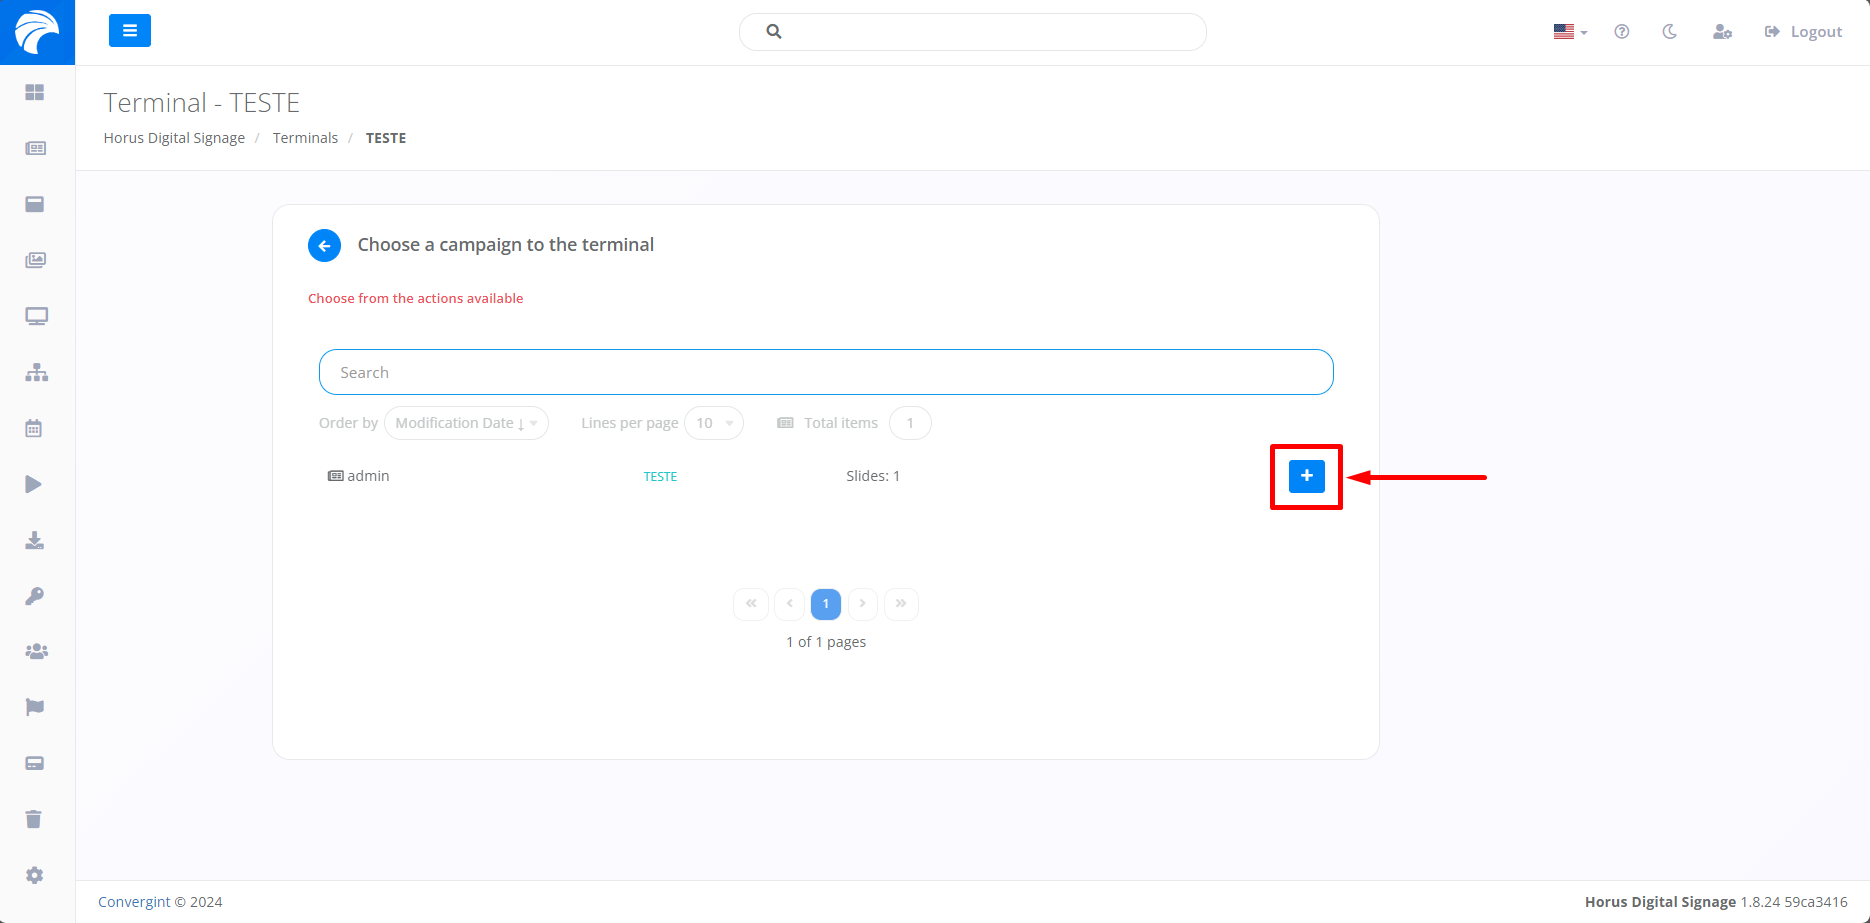
Immediately after clicking on an Action Type of your choice, the Campaign selection screen will be displayed on the screen, where you will need to click on the “+” button associated with the desired Campaign. This Campaign must contain the necessary Slide to be inserted into the appropriate Terminal, according to your preference.
When selecting the Campaign, a pop up will appear asking for confirmation before proceeding with each function.
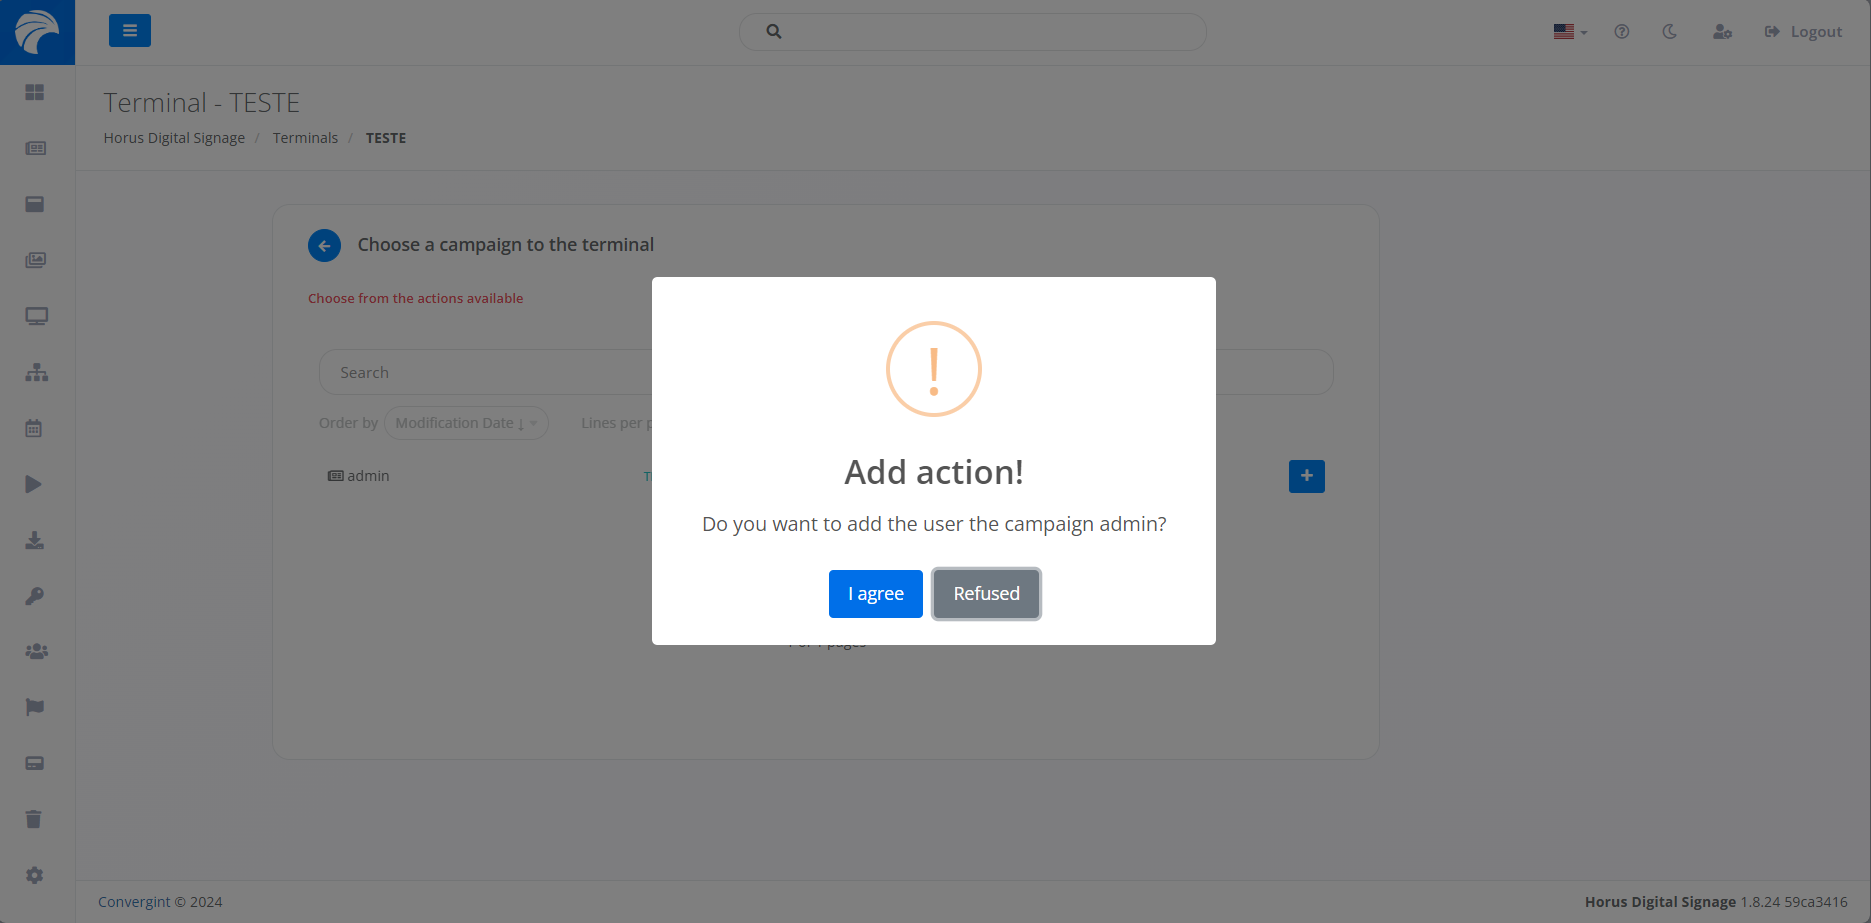
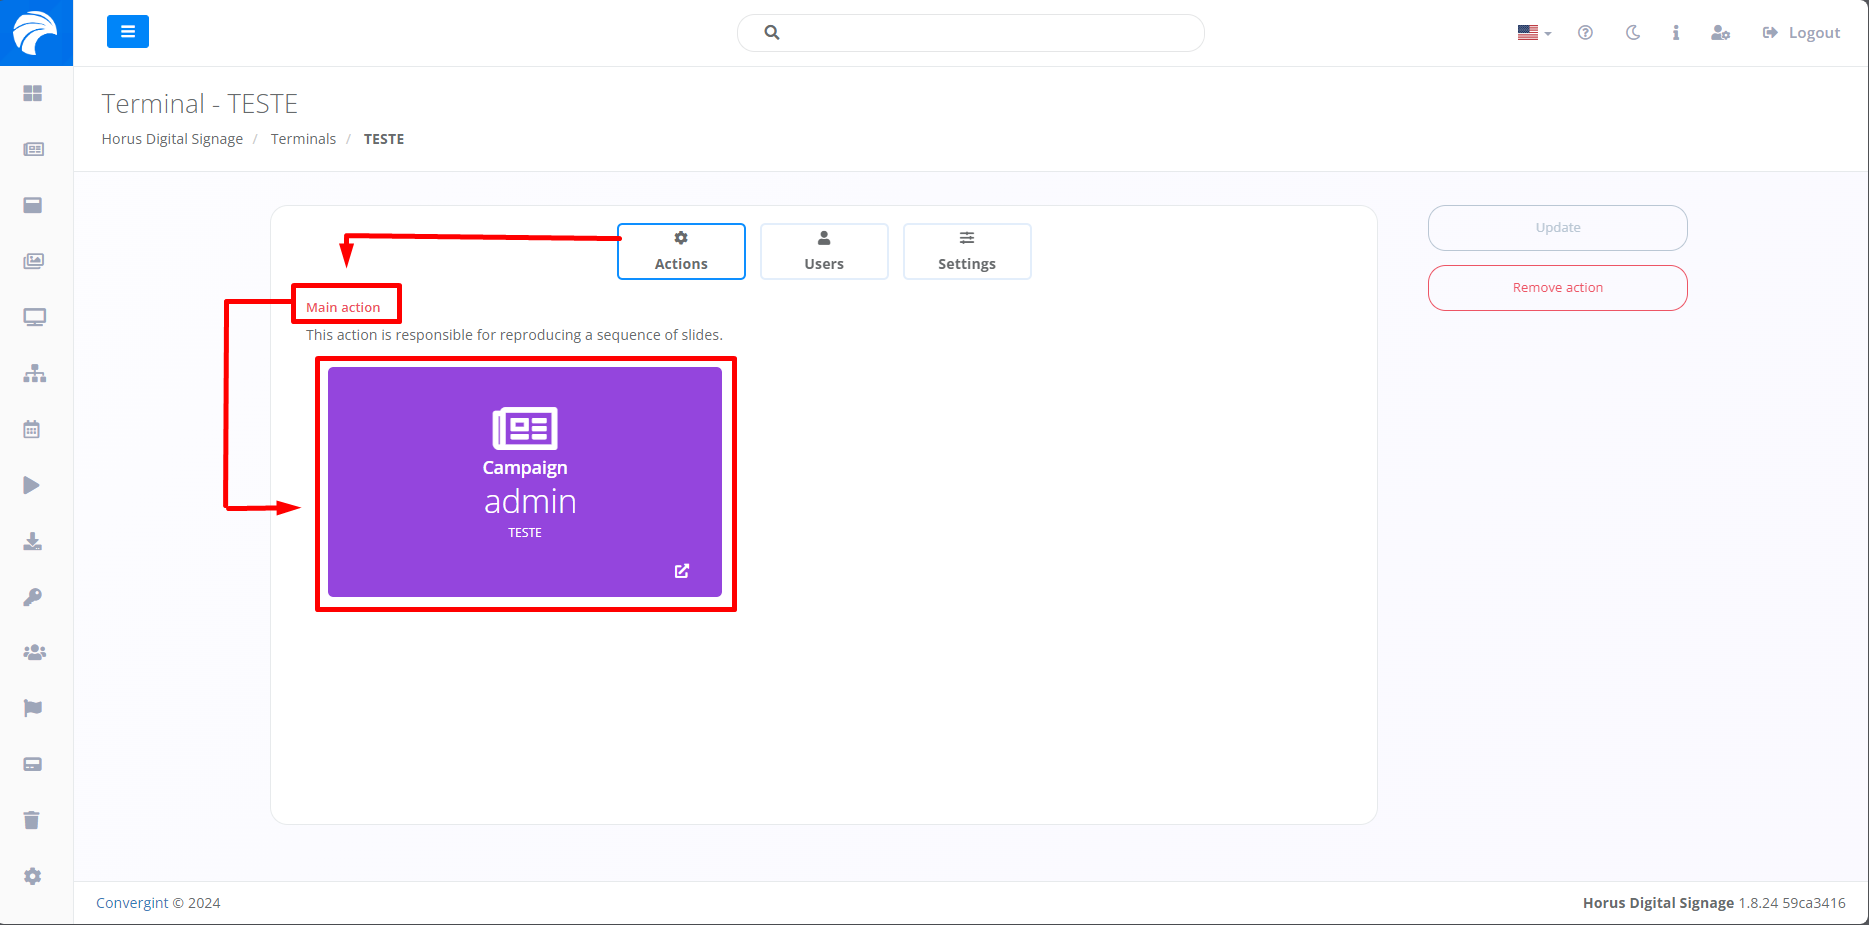
After selecting the desired Campaign, it will be added to the Terminal, consequently being displayed in Horus Player in the future.