Adding an Action in the Terminal
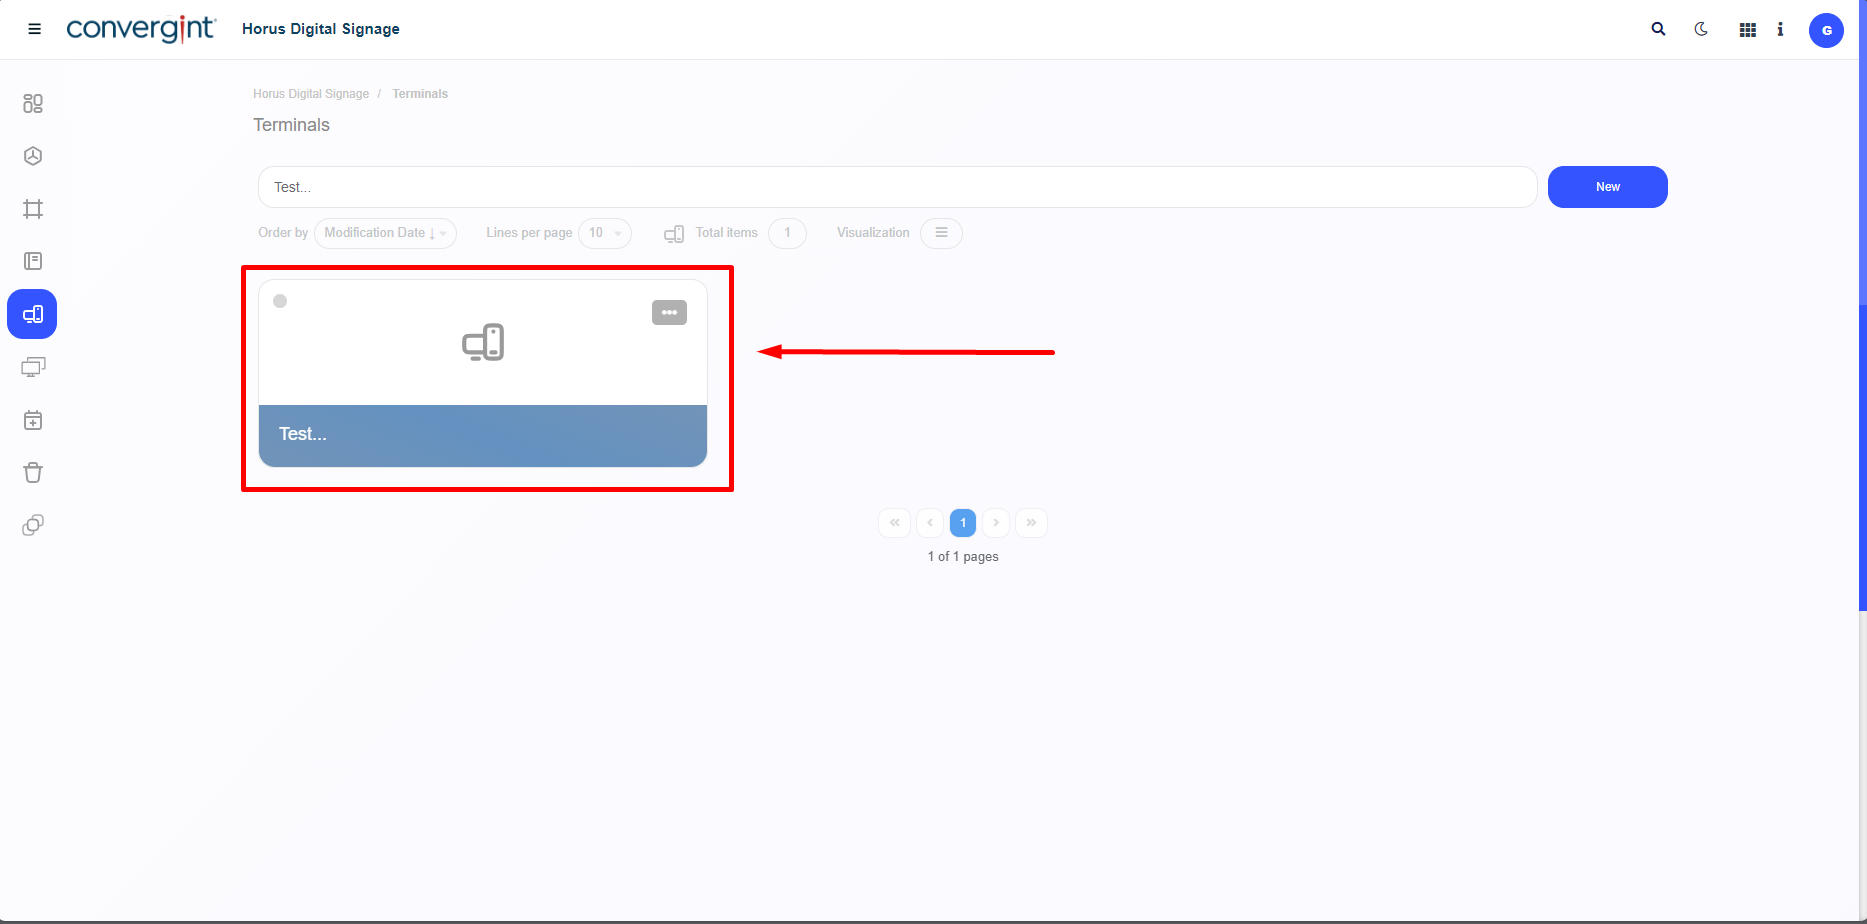
Following the previously mentioned process, the terminal will be created. To continue the adjustment process within the terminal according to your preference, we will include Main Actions to be displayed on the player later. The first step to add a Main Action is to access a previously created terminal where you wish to include the type of Action.
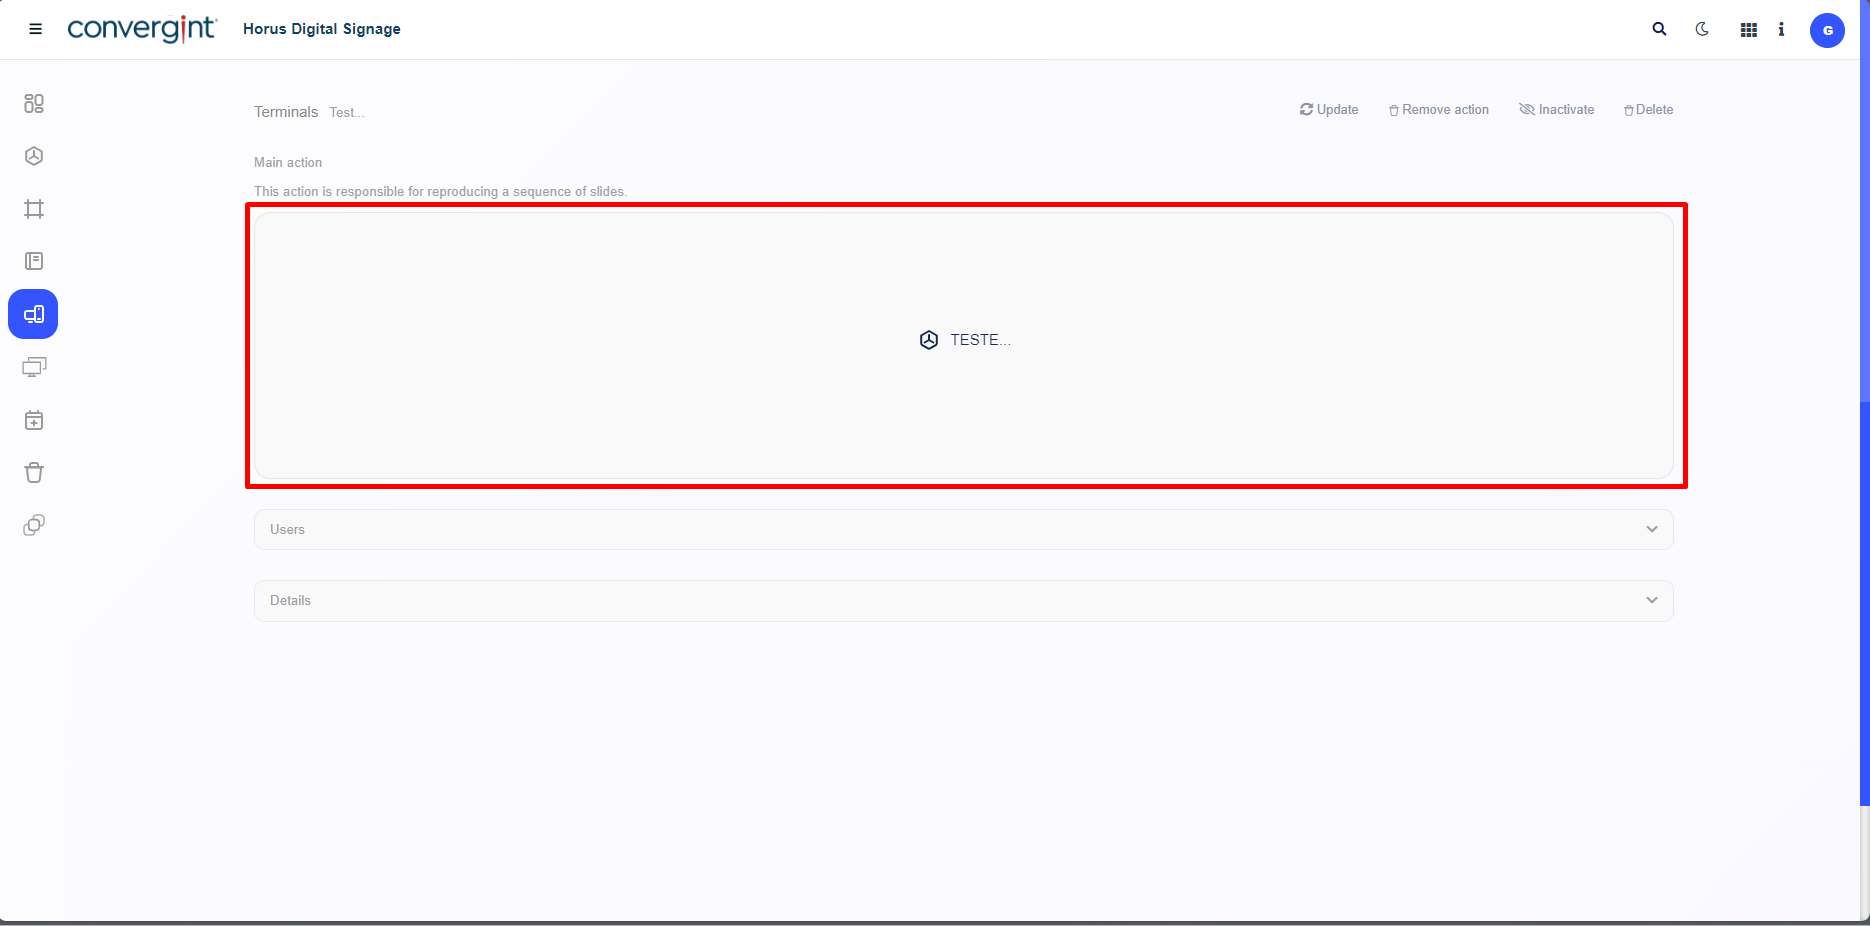
Upon accessing a previously configured terminal with no prior records, the system will display the Terminal interface, where it will be possible to add a Main Action. The user can choose between a Campaign, a Scheduler, or a Terminal Group. Each of these options has a specific functionality, influencing how the previously inserted slides will be displayed. Remember that for all types of inclusion, regardless of the action, the procedure is the same.

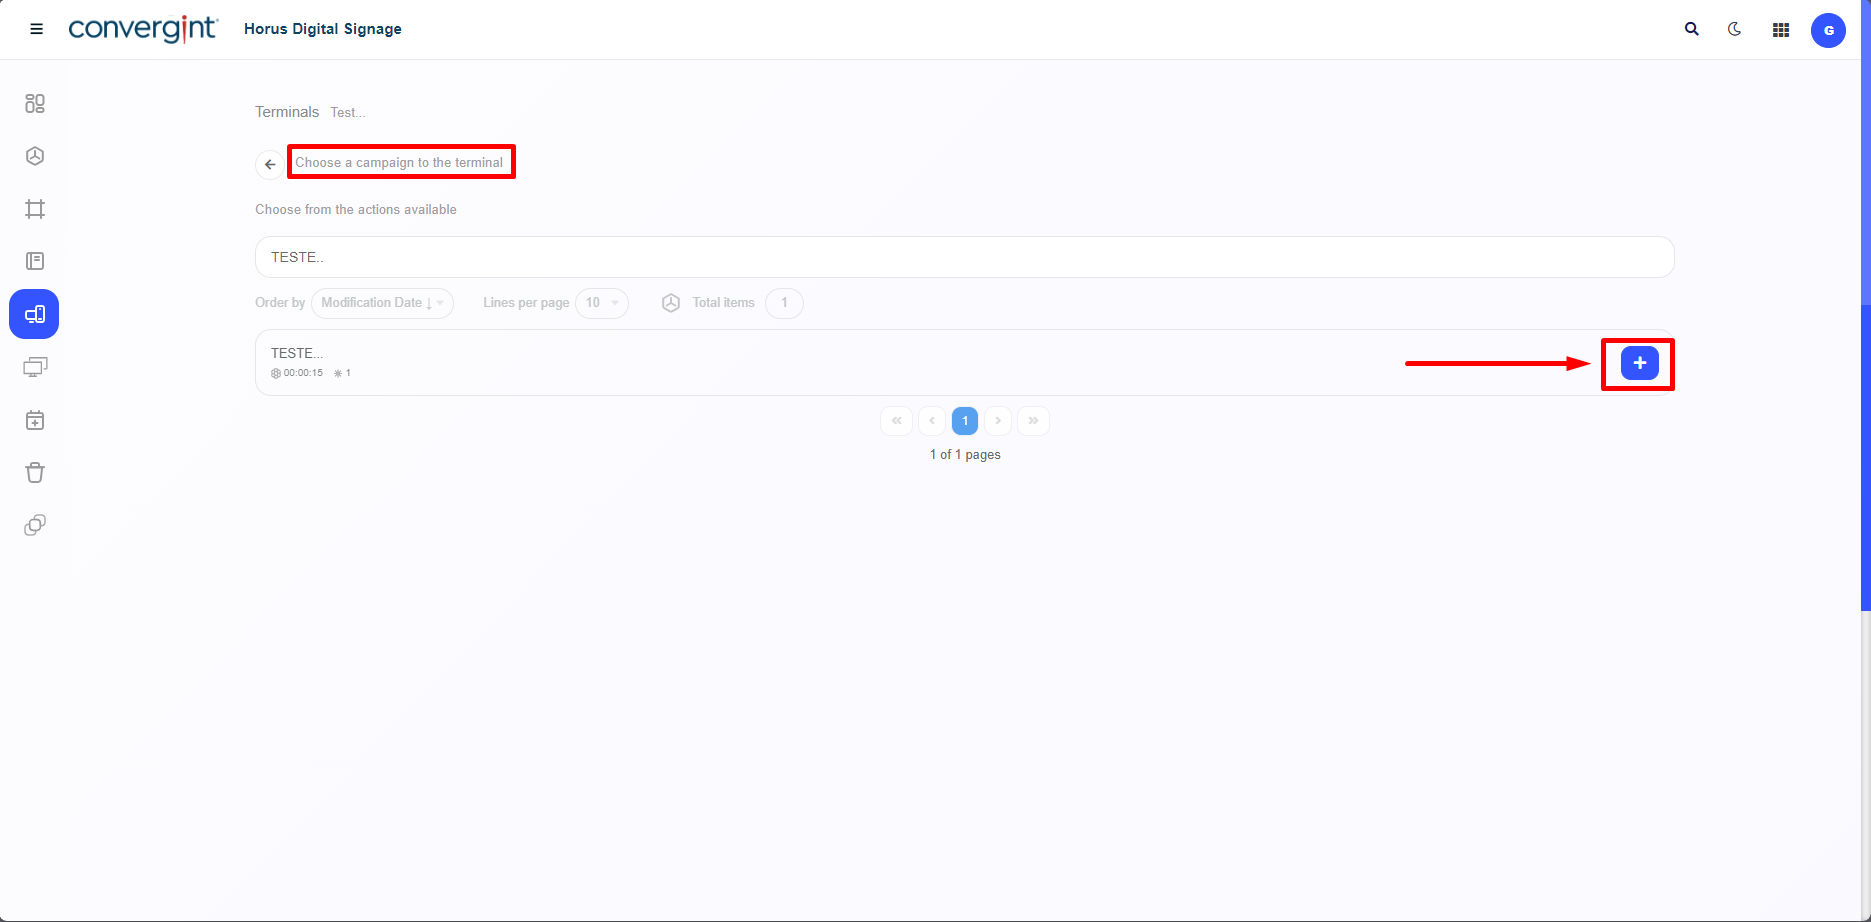
When choosing a main action, the selection screen will display all previously registered items according to the chosen action. To add the listed item to the terminal, simply click the '+' button associated with the selected action. The included action should contain the necessary adjustments and components included in the slide earlier, according to your preference.
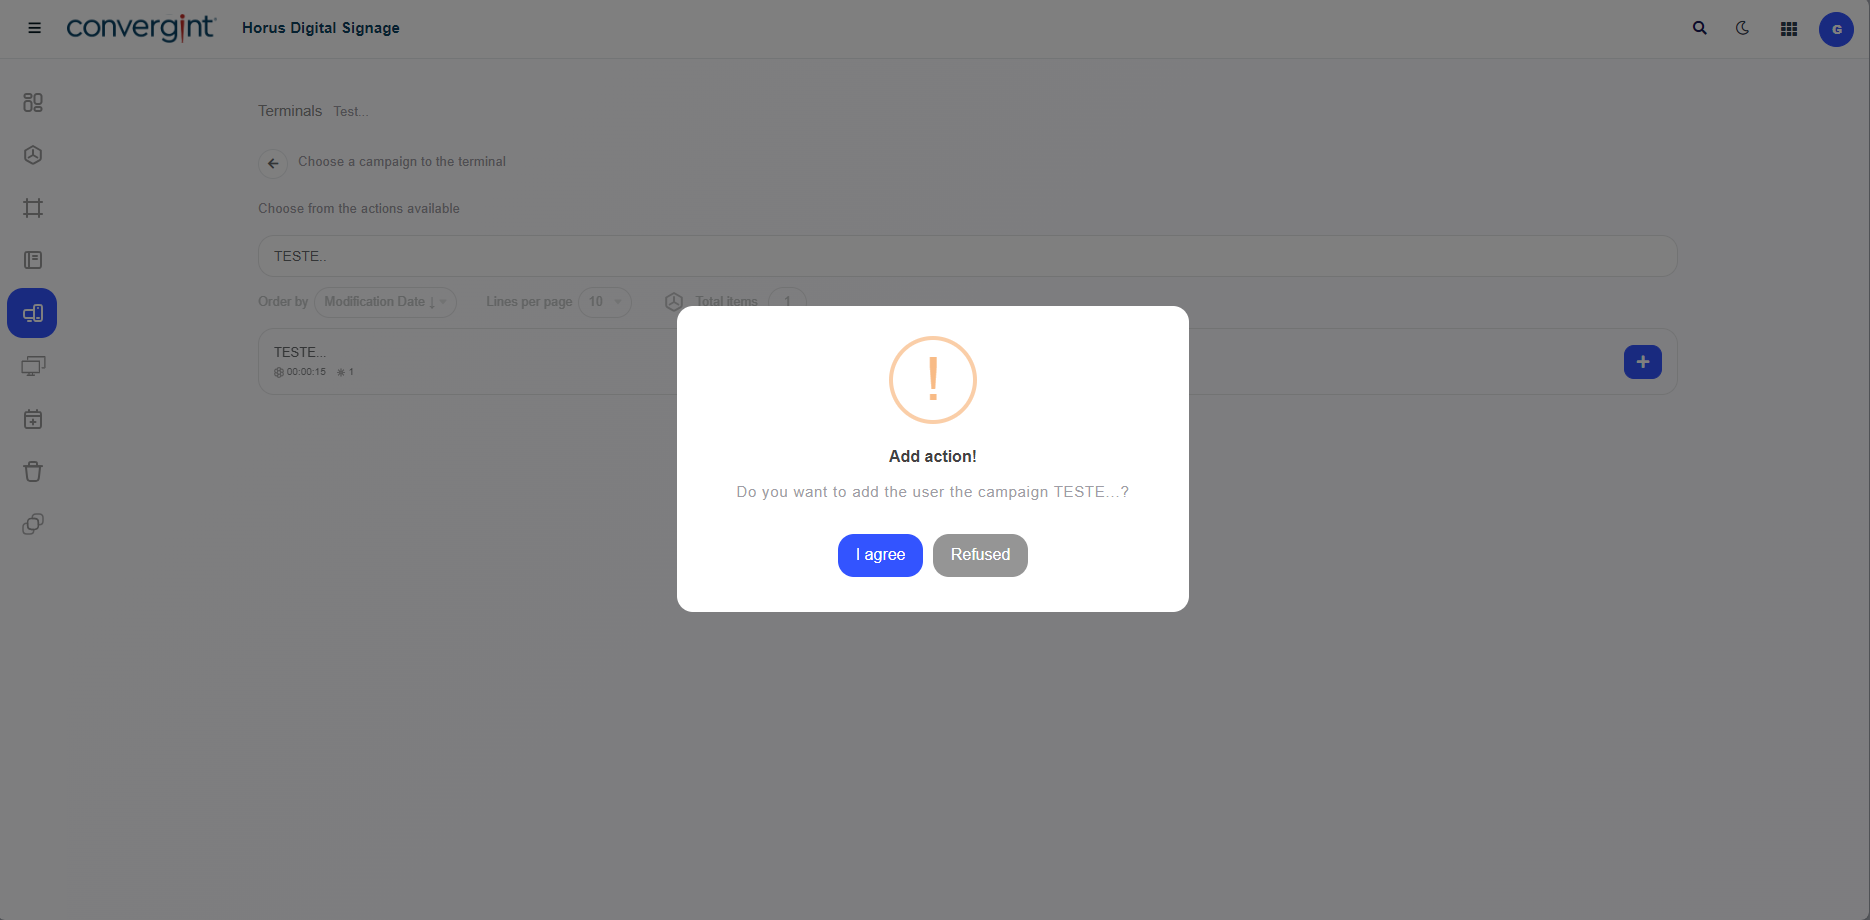
When selecting an item based on the chosen action, the system will display a pop-up requesting confirmation for the inclusion of the action.
After confirming the inclusion of the item according to the previously selected action, the item will be added as a Main Action within the configured Terminal.