Synchronization of a Terminal with the Player
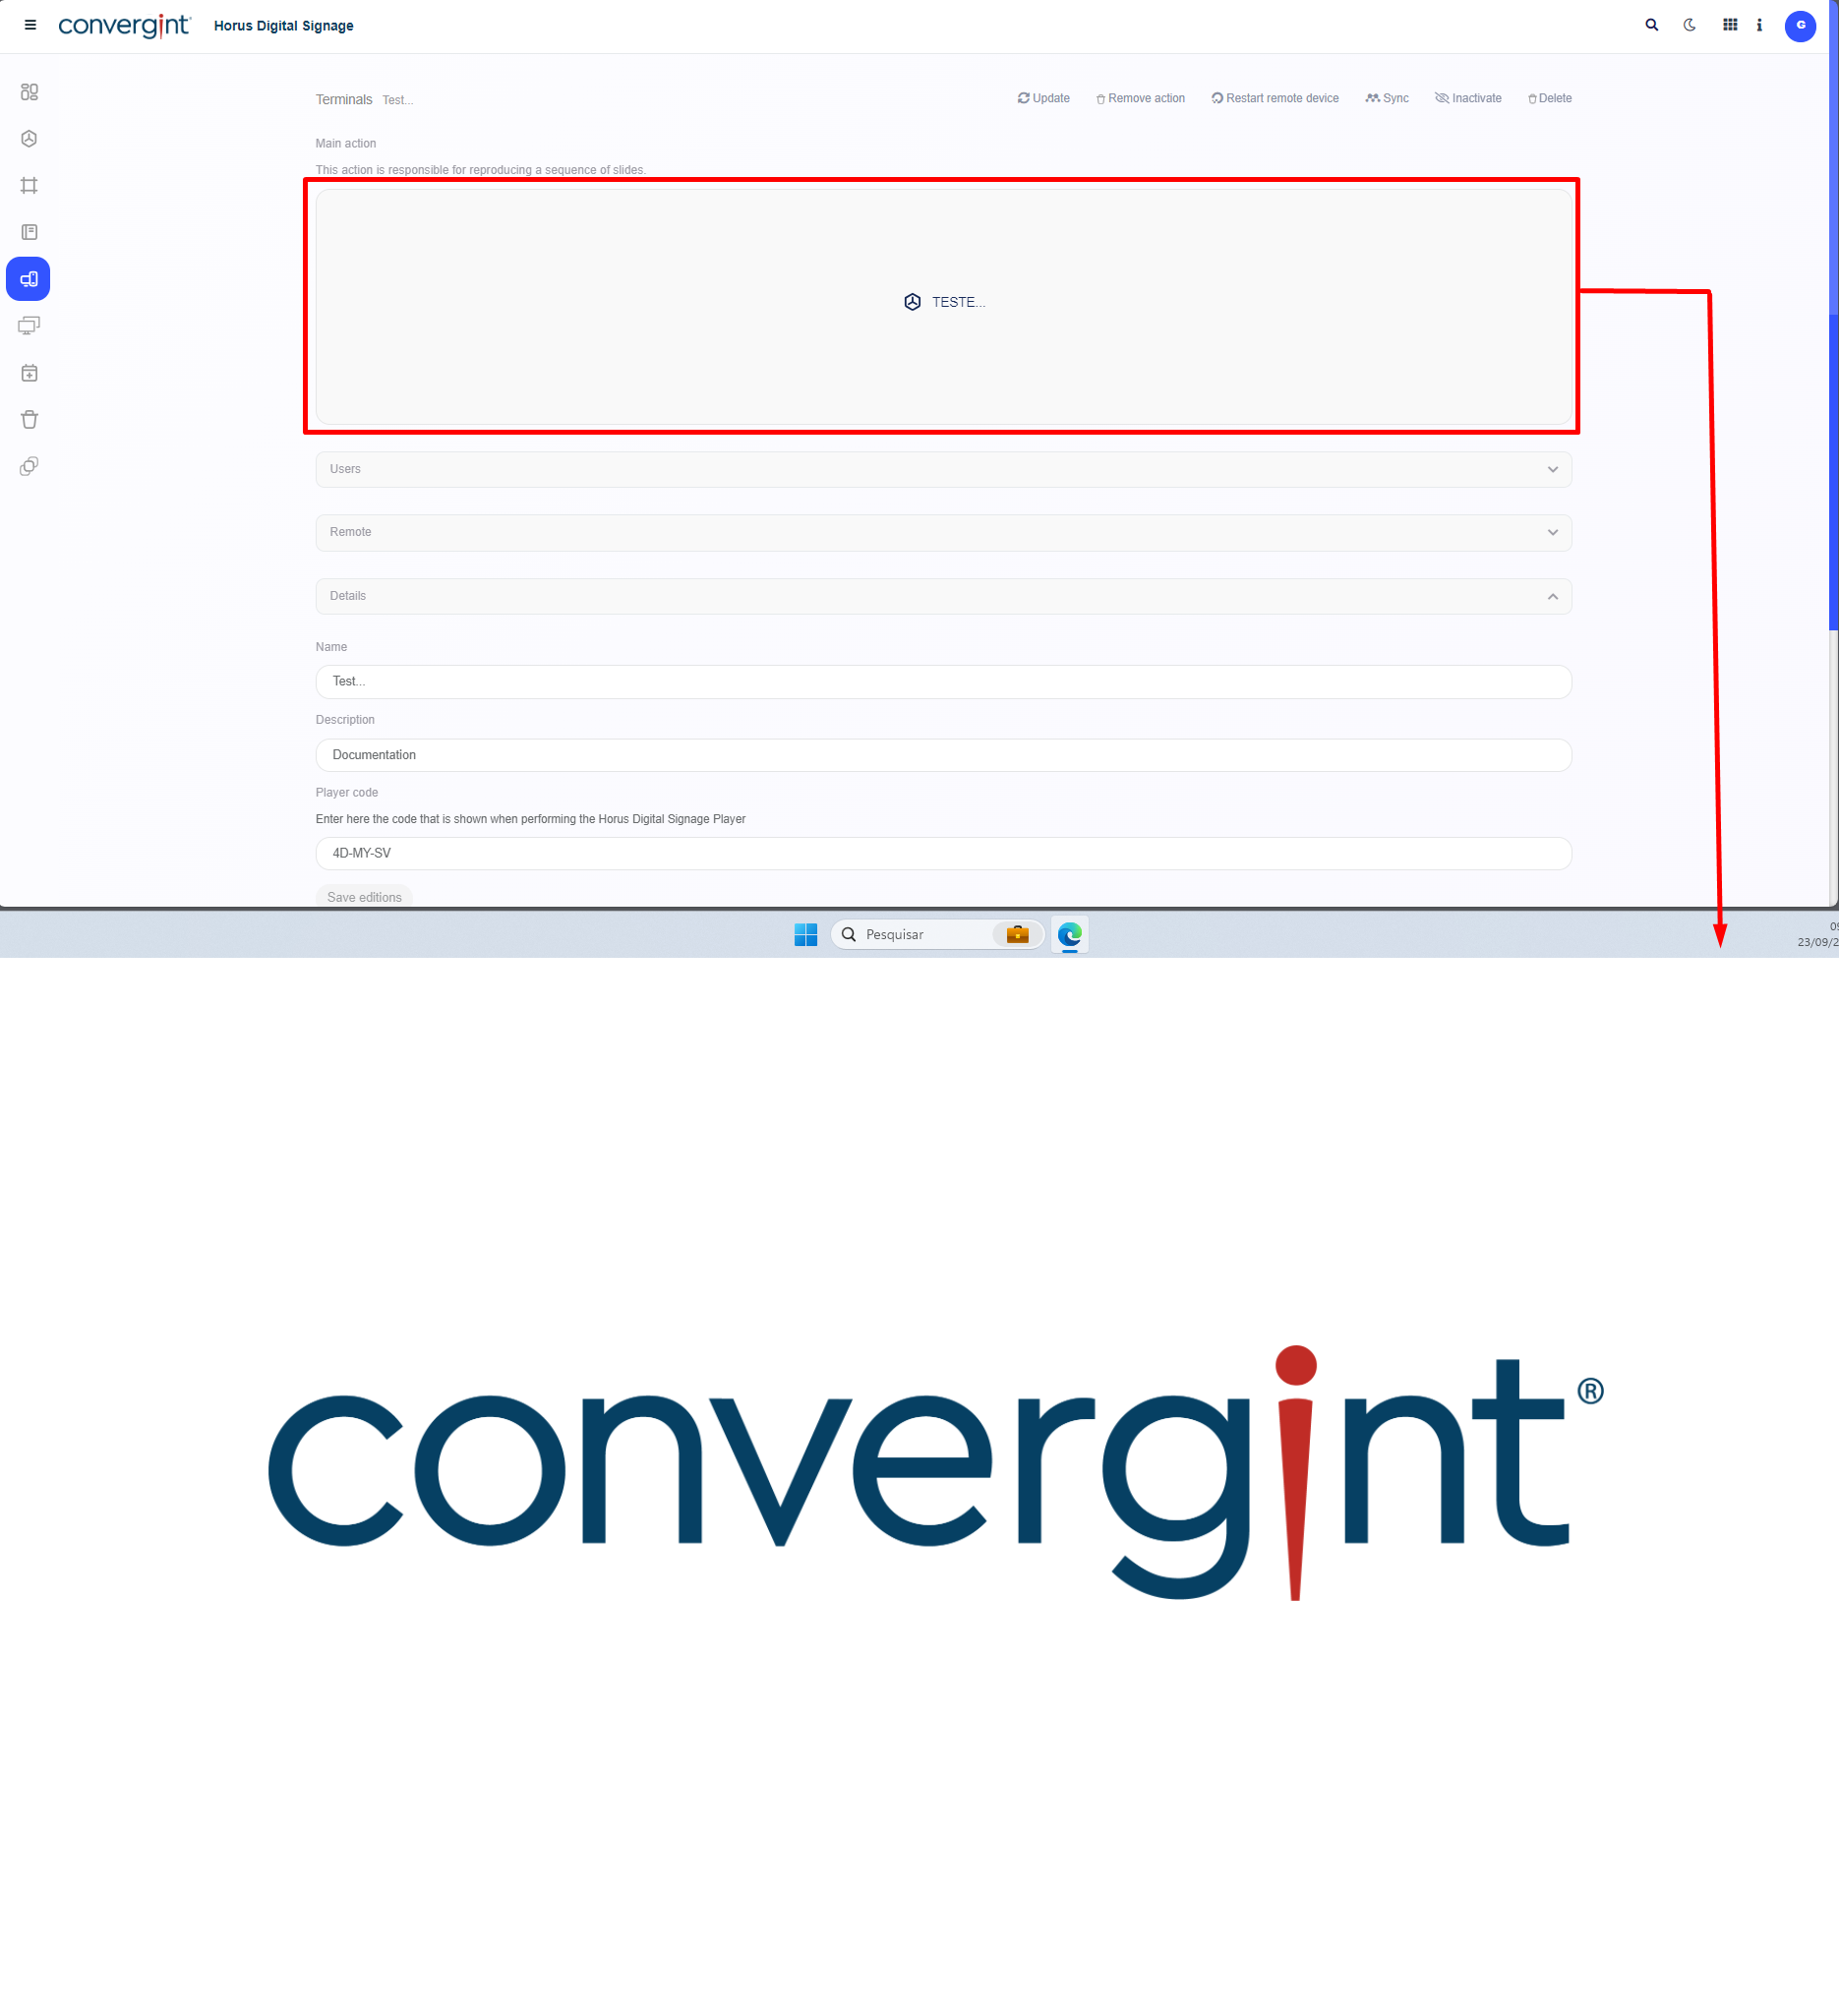
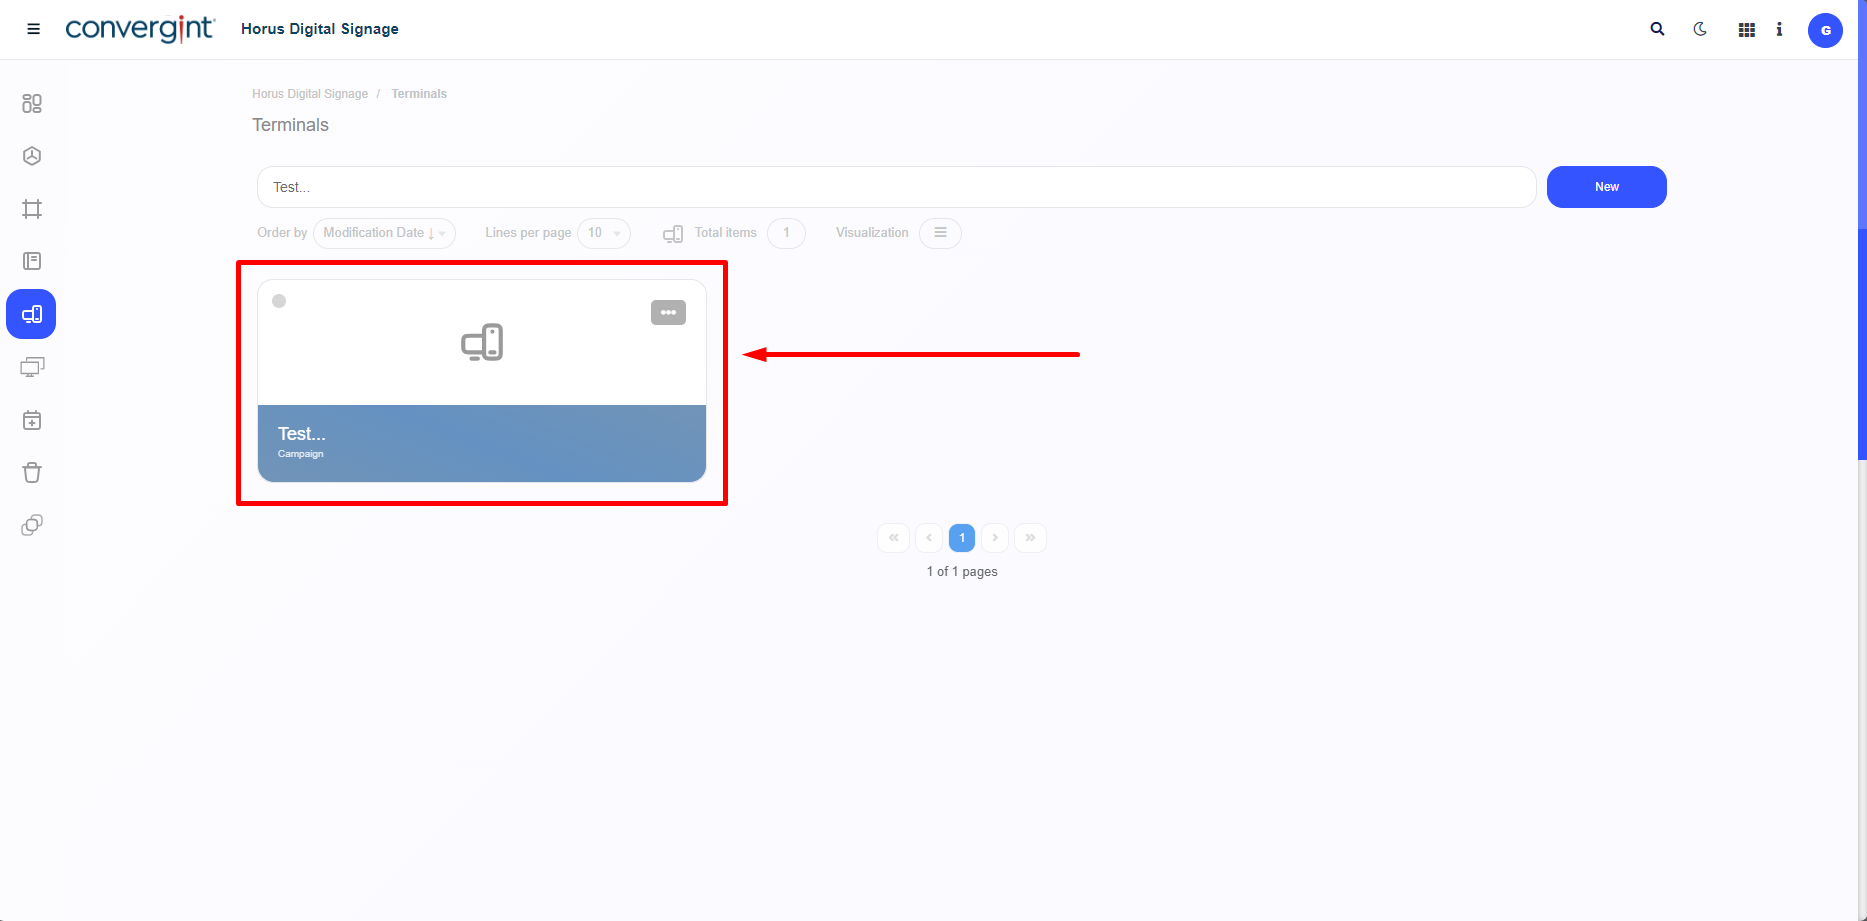
Following the above process, the Terminal will be created. To continue the process of adjusting the Terminal to your preference, we are going to Synchronize the Terminal with the Player, so that actions previously included in the terminal can be displayed on a specific machine that has the Horus Player and that is certainly configured. The first step in Synchronizing a Player with the Terminal is to access a previously created terminal in which you want to synchronize with a player.
Upon accessing a previously configured terminal, the system will display the Terminal interface, where it will be possible to Synchronize the Terminal with the Player. To do this, simply go to the "Details" field and enter the Player Code in the corresponding field for the desired function. The Player Code is generated when the player is installed and executed. After entering the code in the space provided, click "Save editions", so the system can subsequently verify if the code matches what was displayed after the player was previously executed, showing the message below.
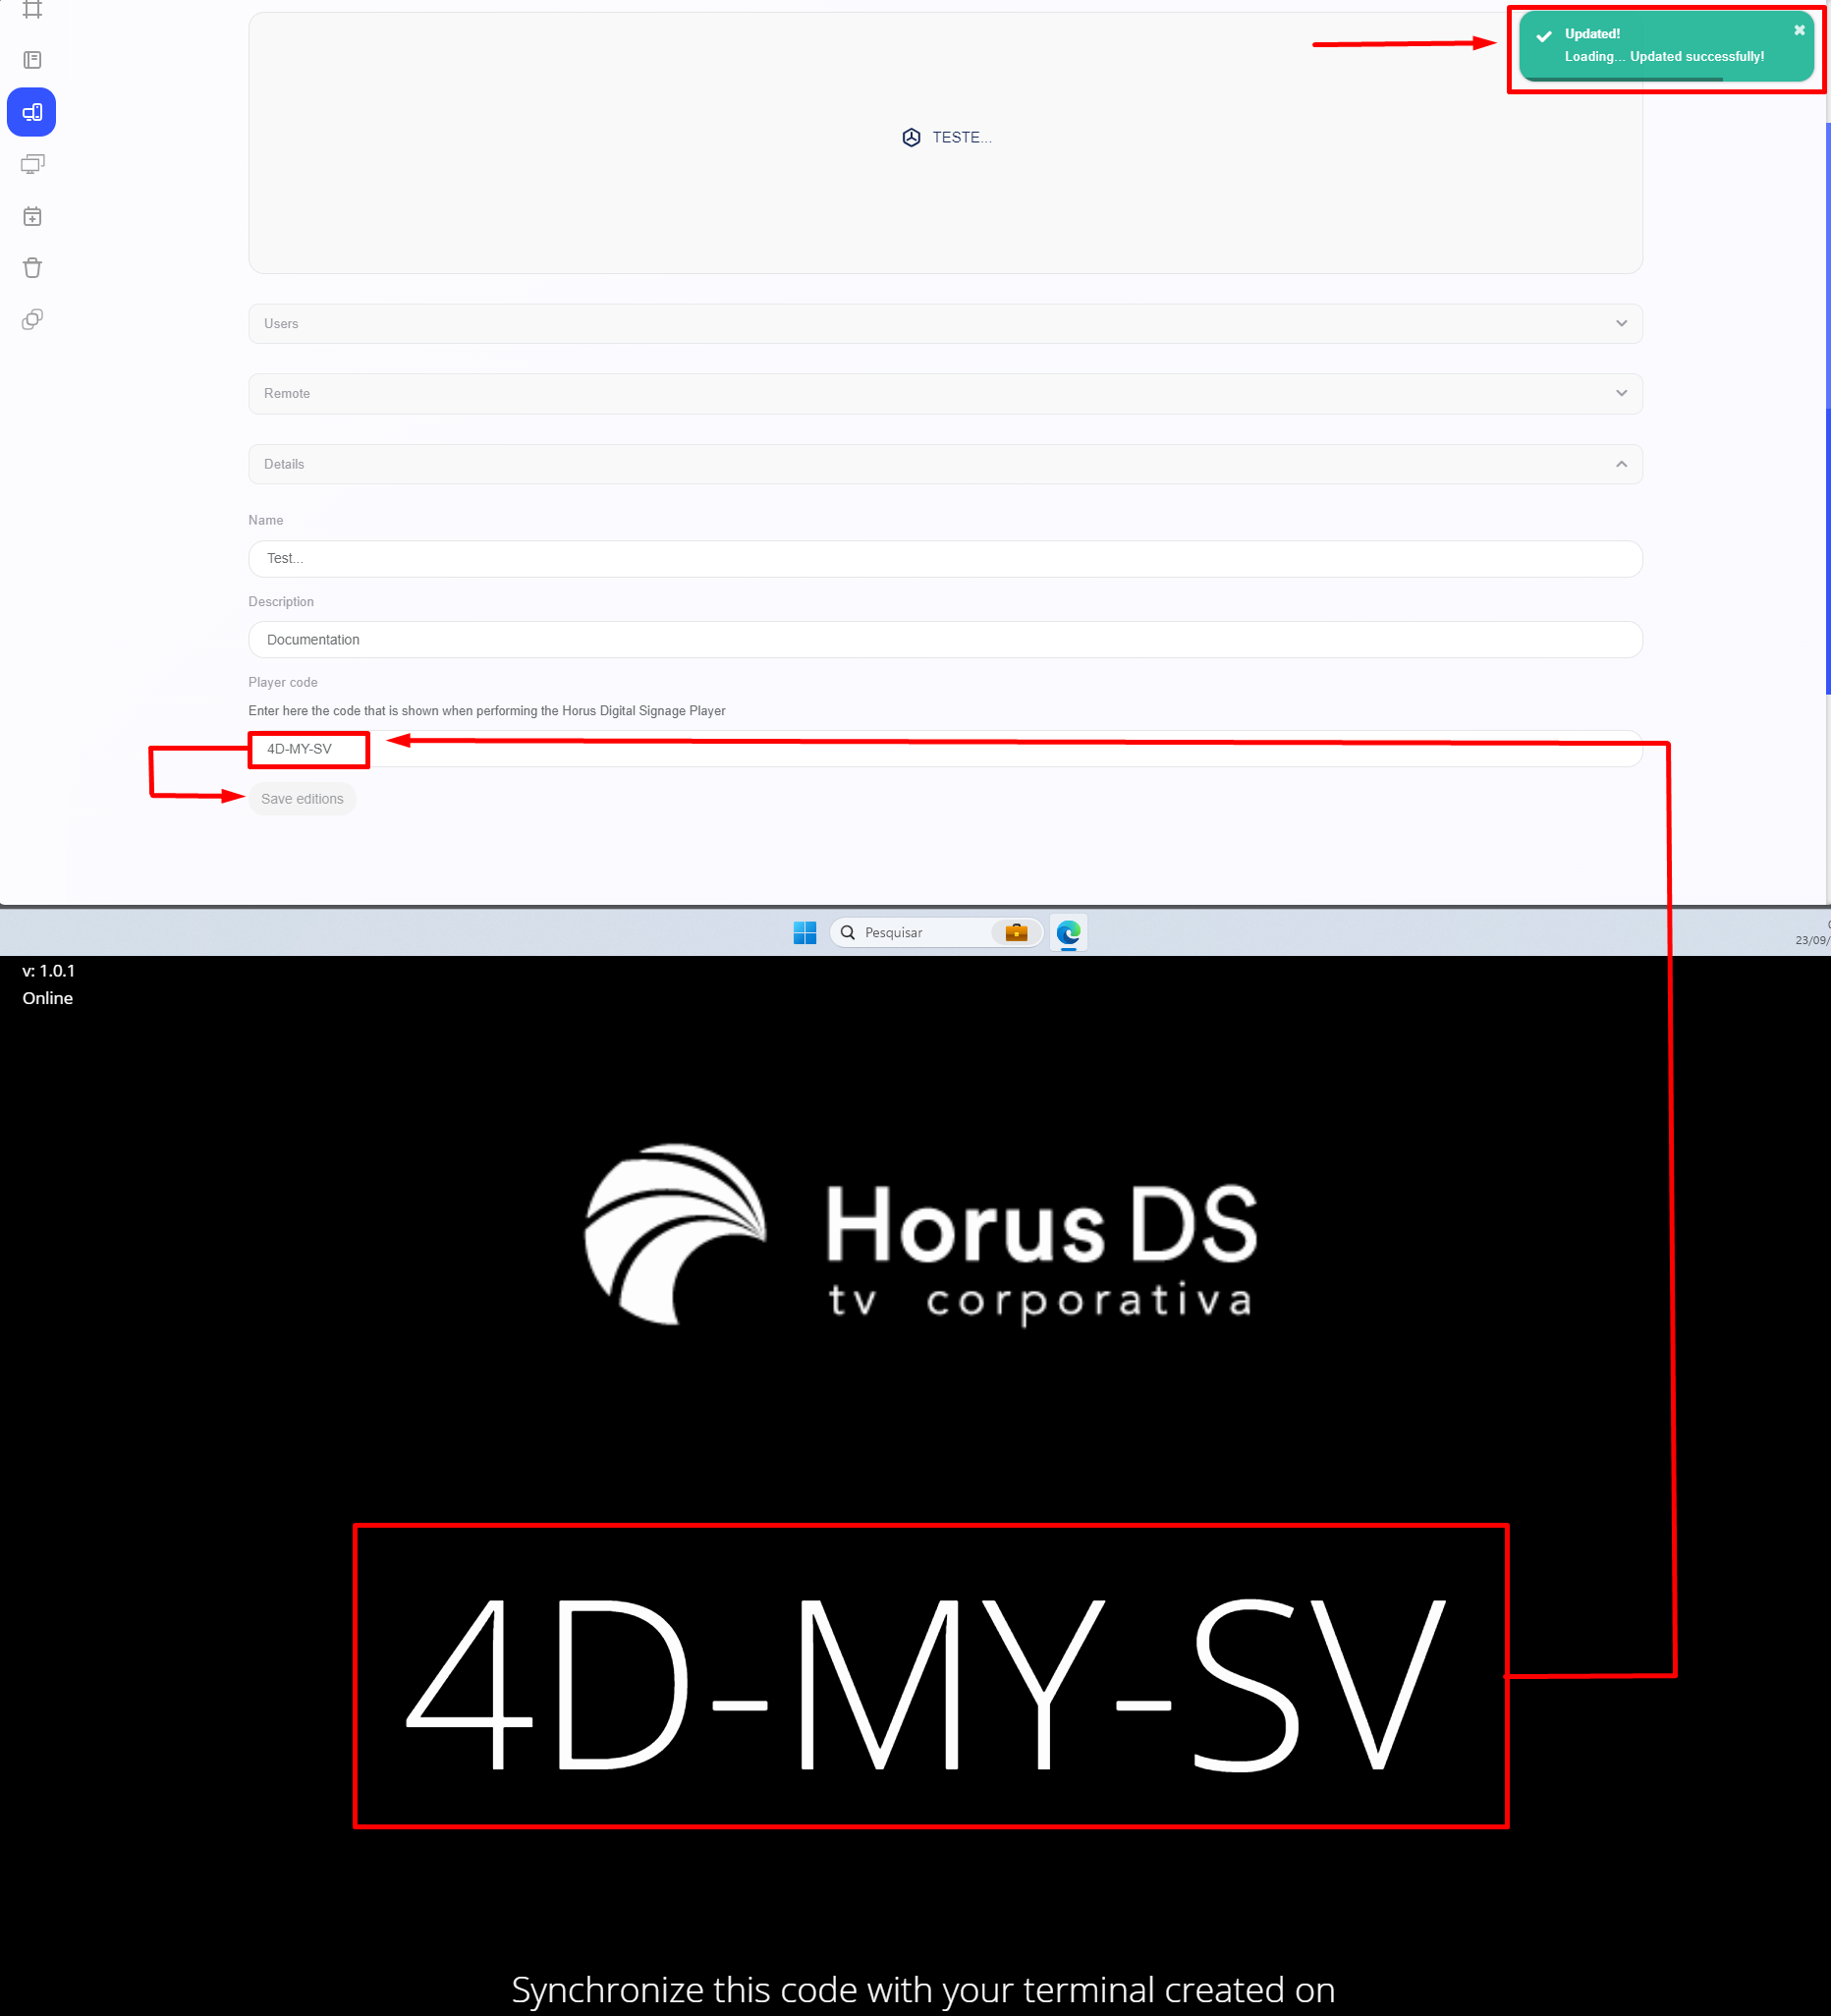
Note: To install the Player, go to the “Player” topic.
Next, the system will display and enable the “Sync” option (highlighted). To continue the process, simply click on the “Synchronize” button and the slides will be displayed, according to the settings made in the main action, within the player.
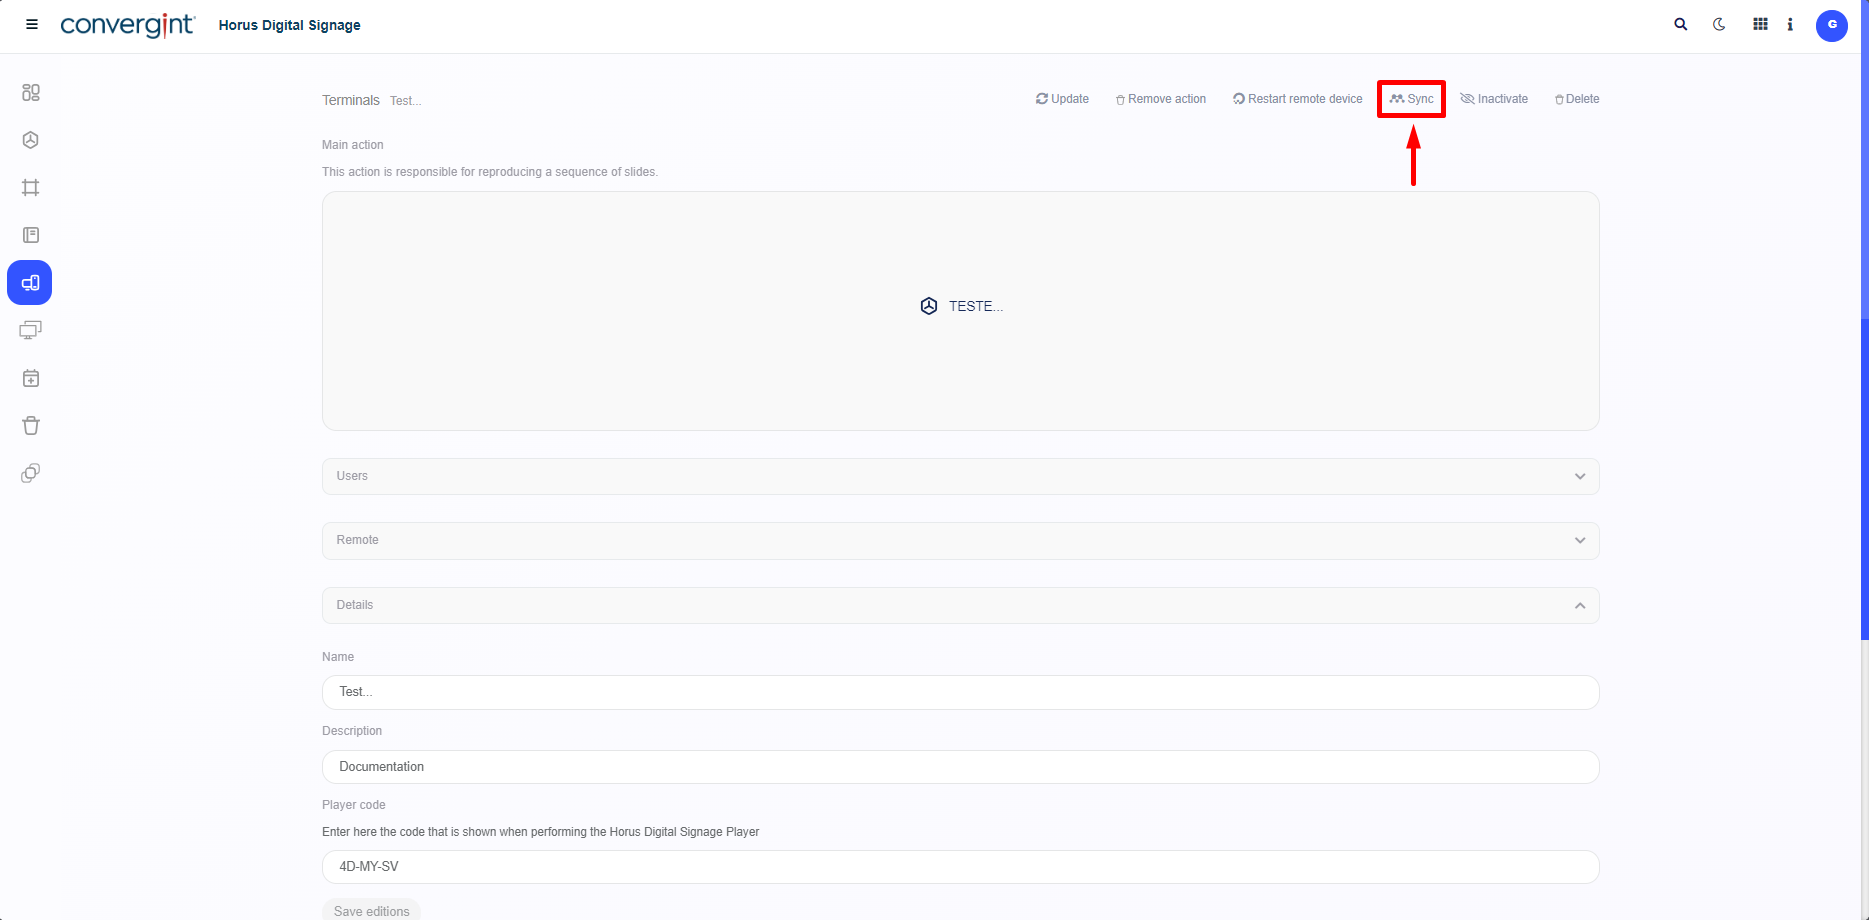
When you click, the slides will be displayed in the Horus Player interface, according to the Main Action included in the Terminal.