Activation of Remote Power On and Power Off
⚠️ Warning: To use this function, you need access to On premise.
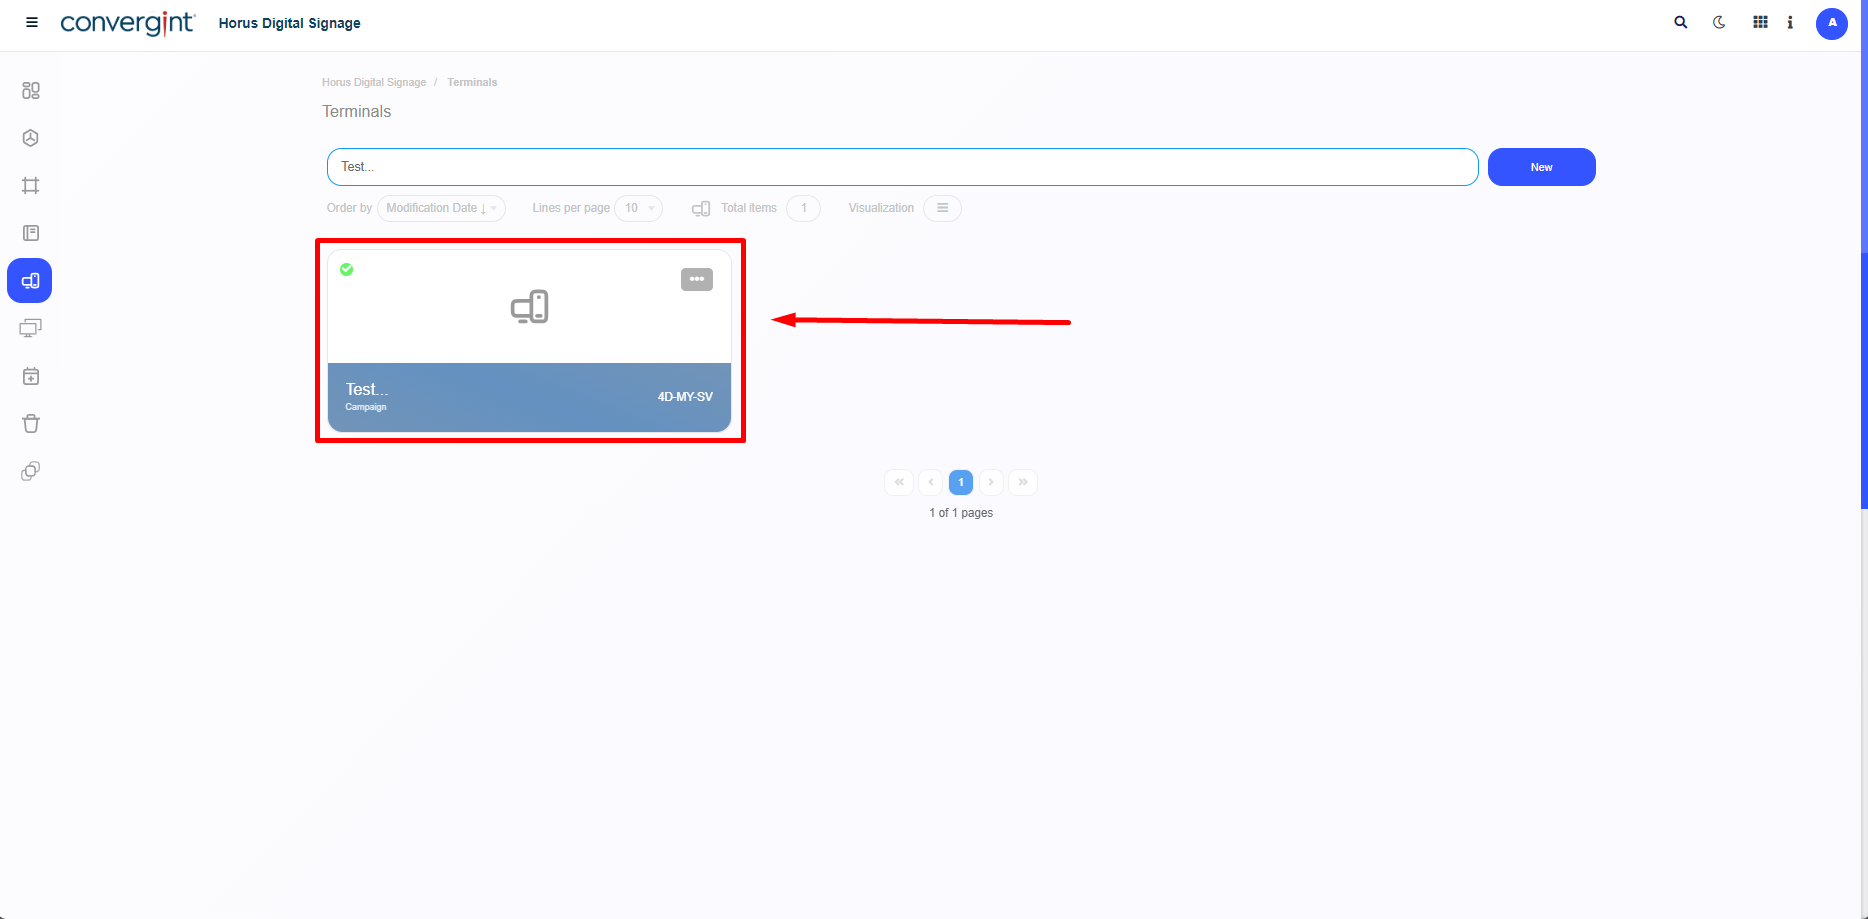
Following the above process, the Terminal will be created. If you have access to On premise, the system will allow you to adjust the “Power on and Power off” functionality, making it easy to manage the server on which the Horus Player platform resides, using a filtering system. The first step in enabling and adjusting this functionality is to access a previously created terminal in which you want to activate “Power on and Power off”.
Note: In order for the system to be able to include this functionality in the system, the Terminal you are using must be synchronized with the Player, and the native Horus Player machine must be turned on.
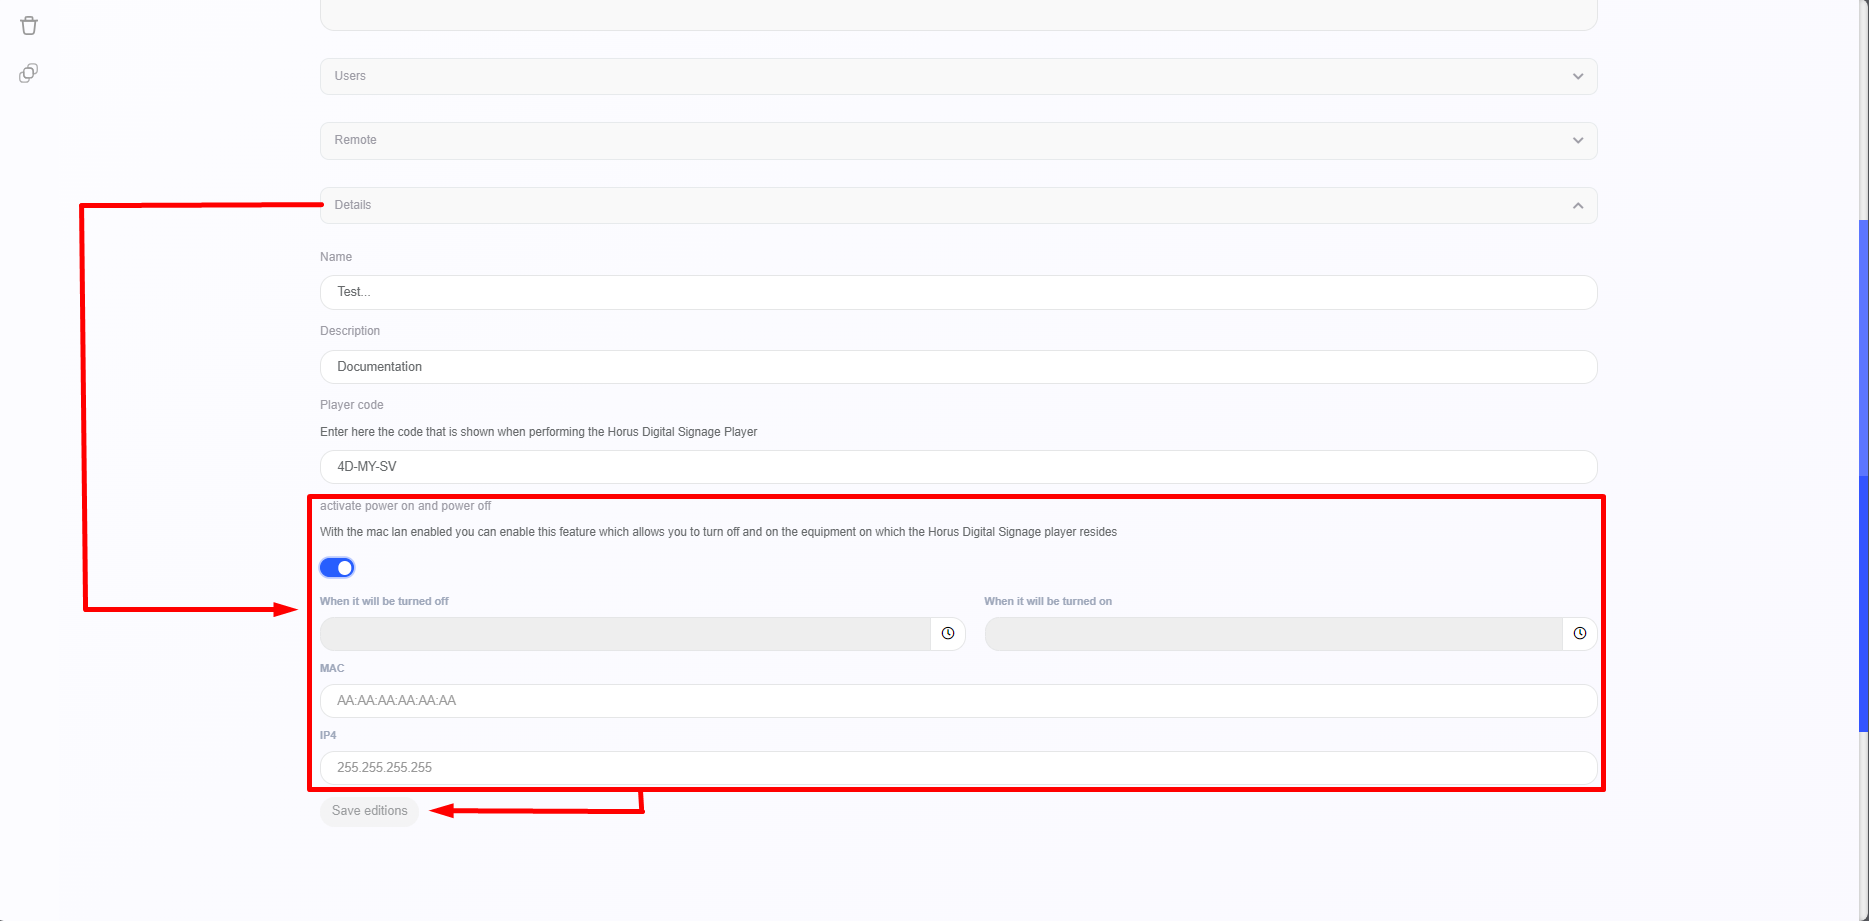
When you access a previously configured terminal, the system will display the Terminal interface, where you can adjust the “Power on and Power off”. To do this, simply access the “Details” field. In this field, enable the function in the “activate power on and power off” section, defining the period when the machine will be switched off and when it will be switched back on. To ensure that this function works correctly, enter the MAC and IPV4 address of the machine hosting Horus Player, allowing an efficient and fast connection between the server and the machine running Horus Player. For this functionality to work correctly, it is essential that both machines, the one hosting the web server and the one running Horus Player, are on the same network. Once you've configured your settings, click on “Save editions”. This way, when the period starts, the machine that hosts Horus Player will be switched off and will remain so until it is automatically switched back on after the period ends.
Note: For the “Power on and Power off” functionality to work correctly, the “Wake-on-Lan” feature on the machine running Horus Player must be activated. In this way, the machine will be turned off and on again according to the schedule previously set.