Scheduler registration
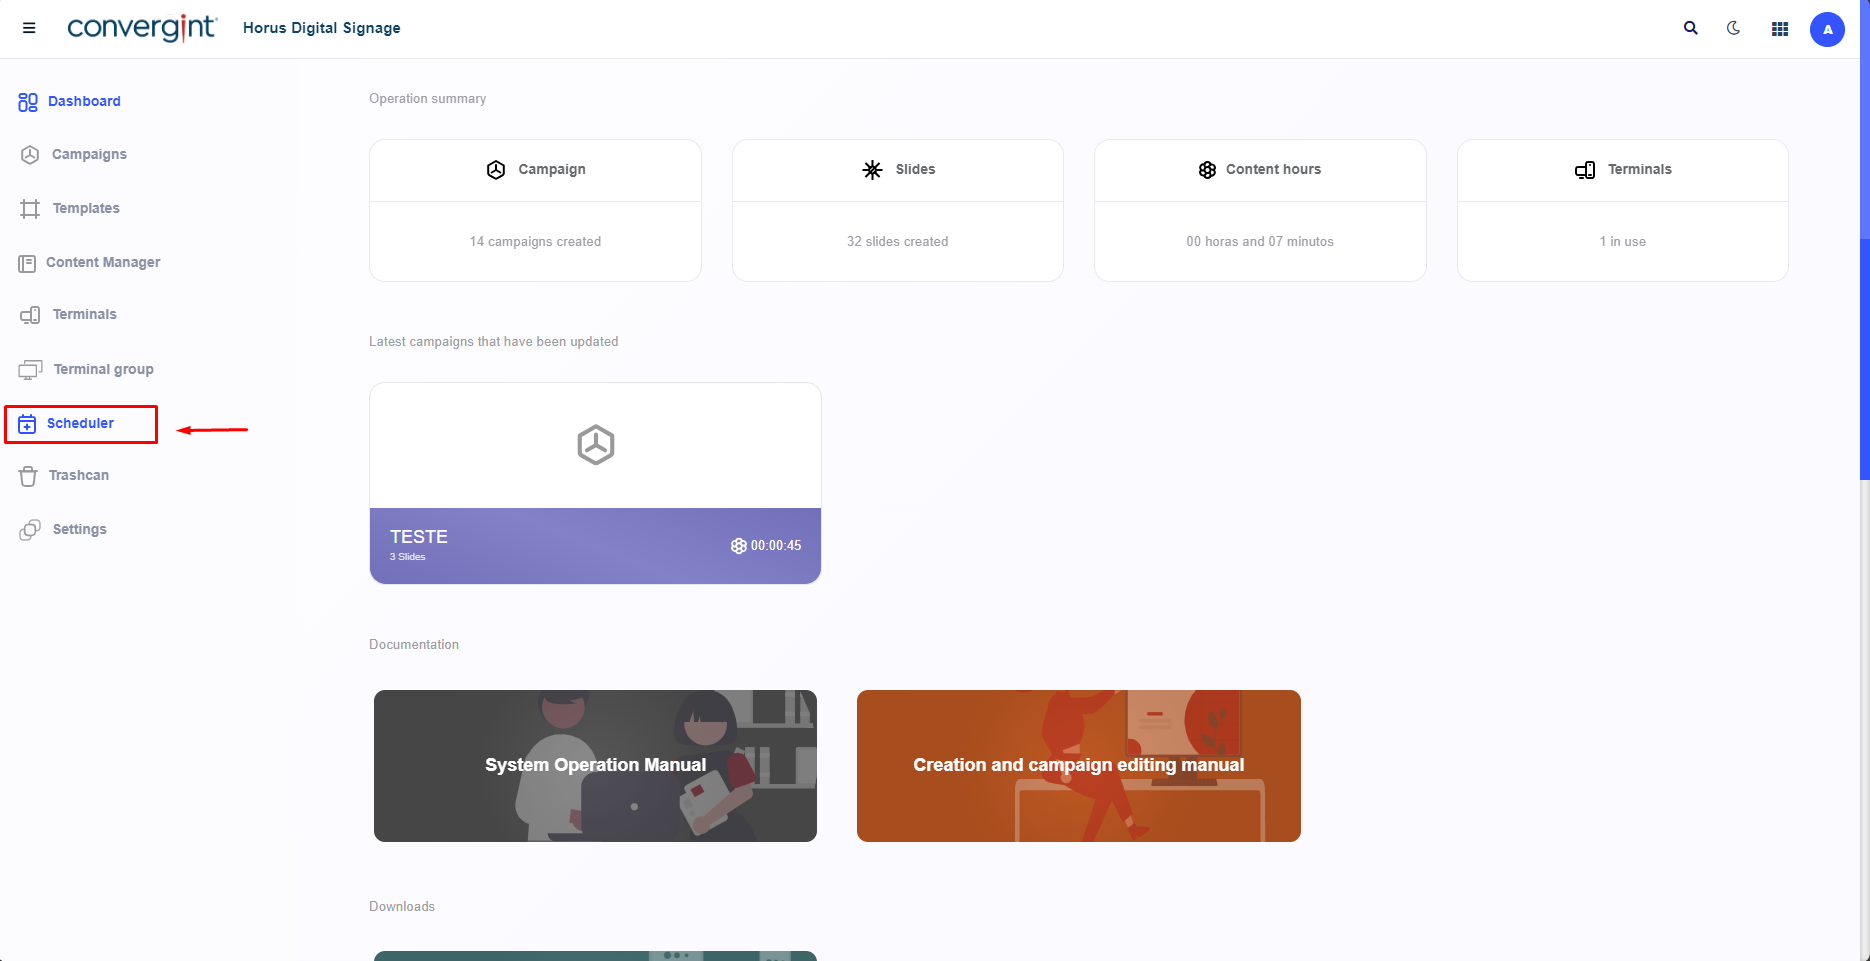
The first step in registering the Scheduler is to access the “Scheduler” tab. This function makes it possible to manage the reproduction of a sequence of slides, offering flexibility in displaying the slides in the period of your choice on Horus Digital Signage.
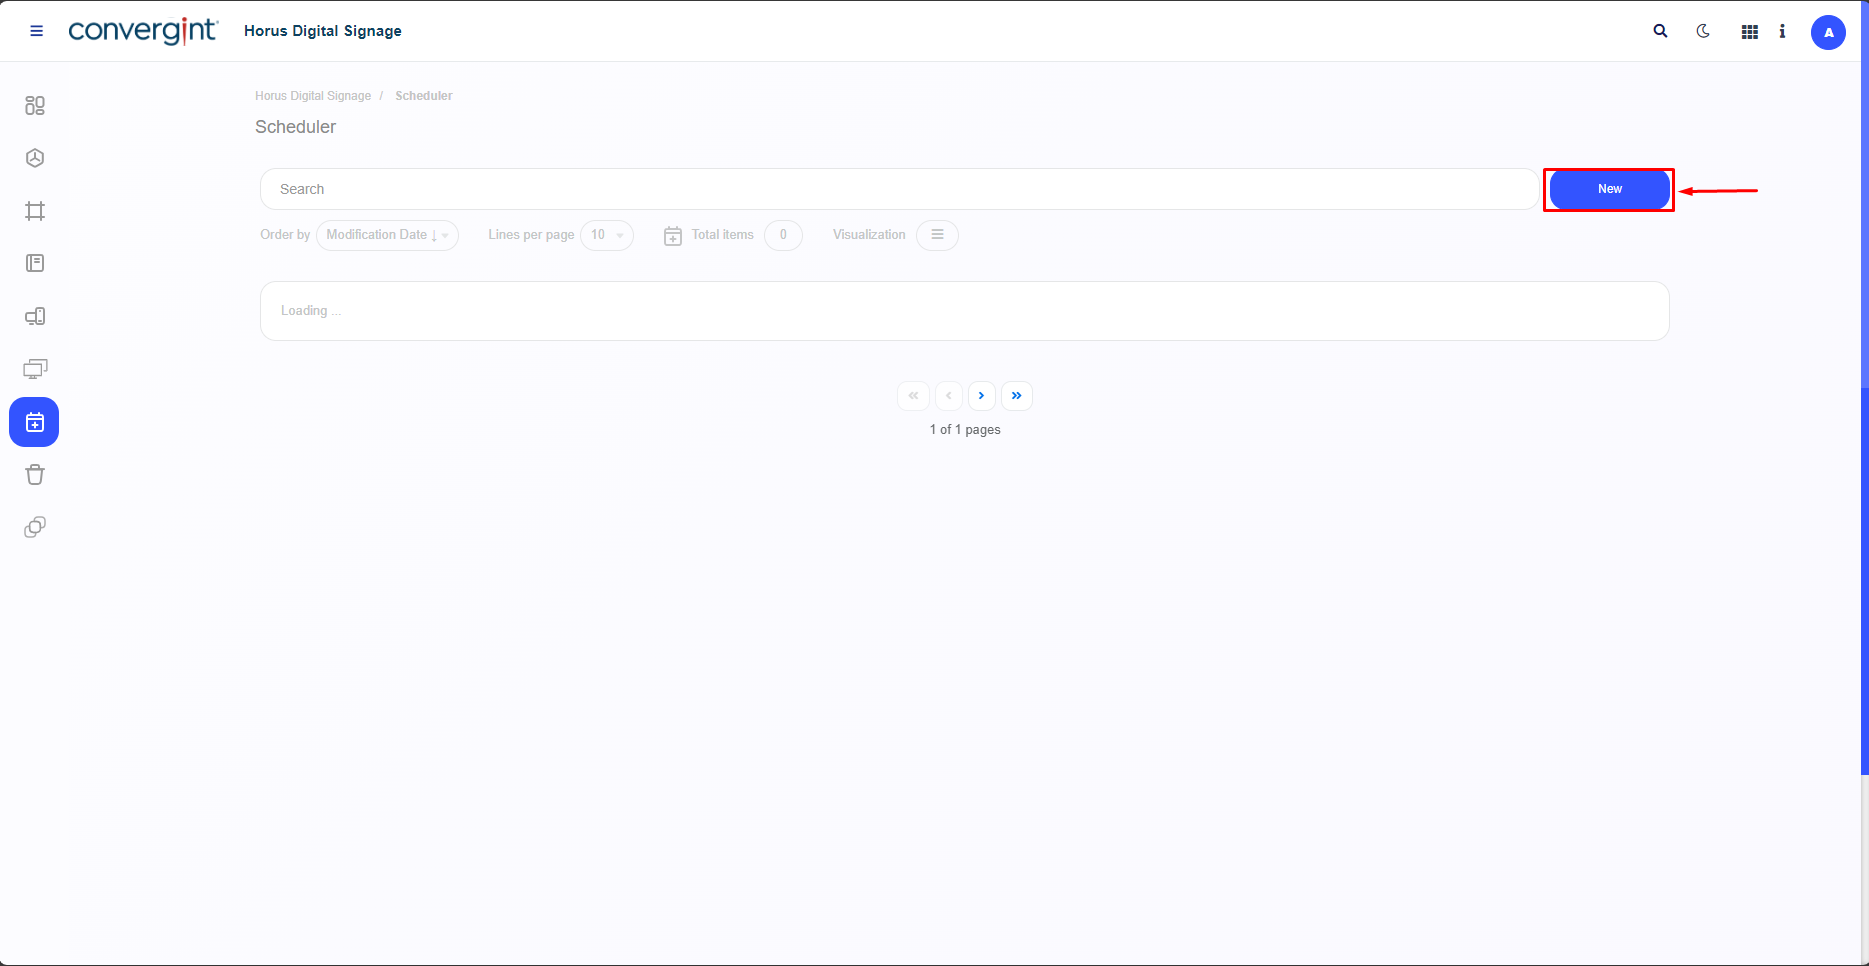
After accessing the Scheduler previously, the system will open the screen, where we will first define in “New” that, if there is already a Scheduler created previously, it should be listed just below the search bar.
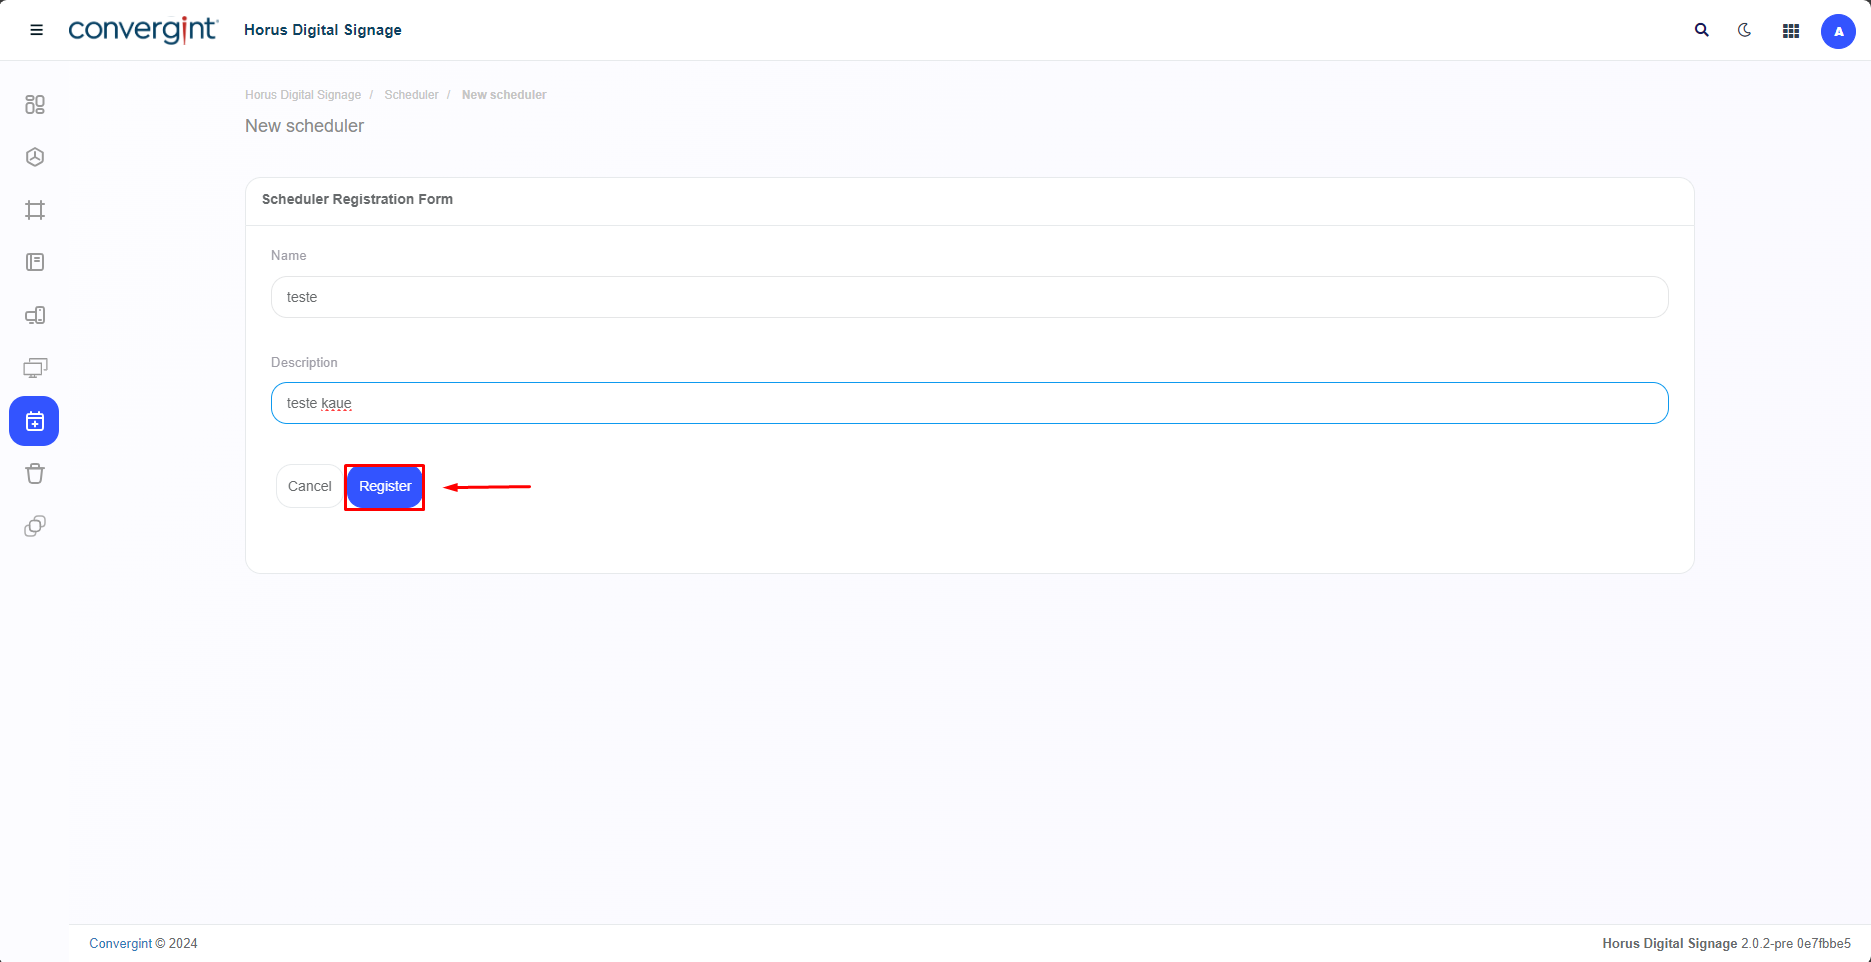
When you access the “New” option, you will need to enter a name for the new Scheduler. If you need a description, there is a field available just below the “Name” option. Once you've completed the above steps, simply press “Register”, which is highlighted, and the Scheduler will be registered and shown below with its choices.
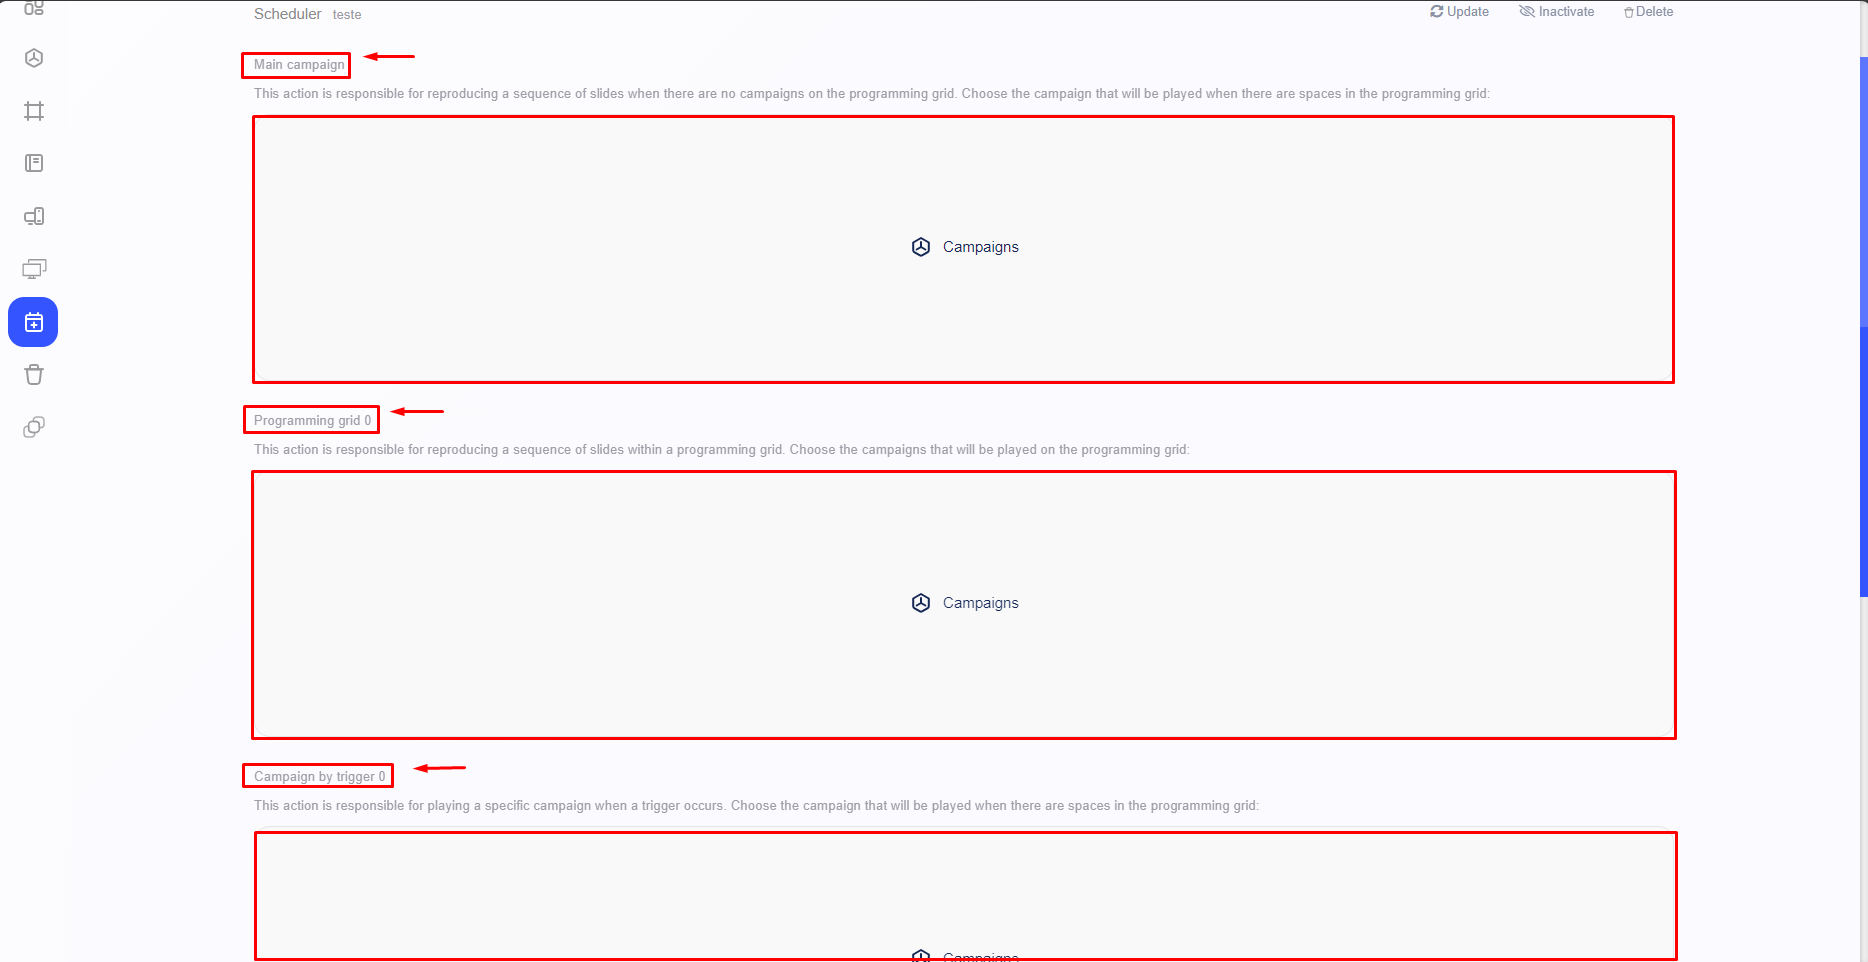
After completing the previous step, you will be redirected to the Add Campaigns screen in the Scheduler. On this screen, you will have the option of adding a Main Campaign, a Programming Grid and a Trigger Campaign.
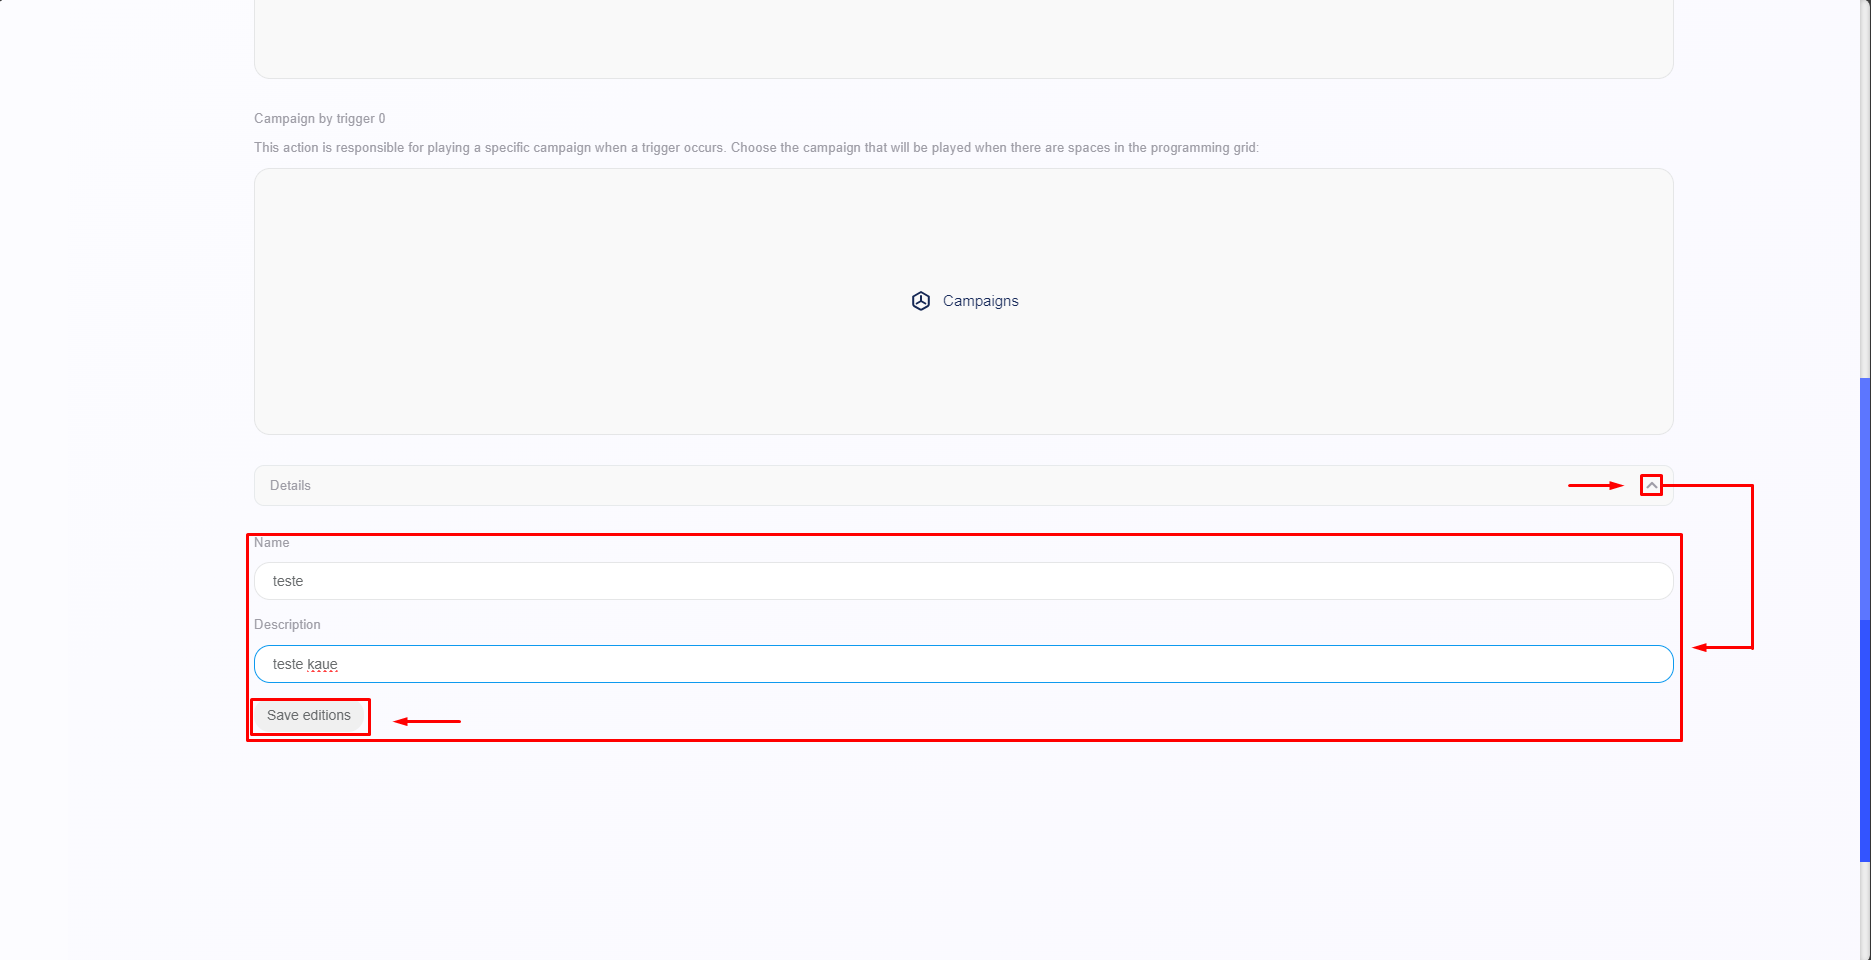
To make changes to the Campaign name and description, simply access the “Details” option, located under the “Campaign by trigger” section. To save the changes, click on “Save editions”.