Creating Triggers
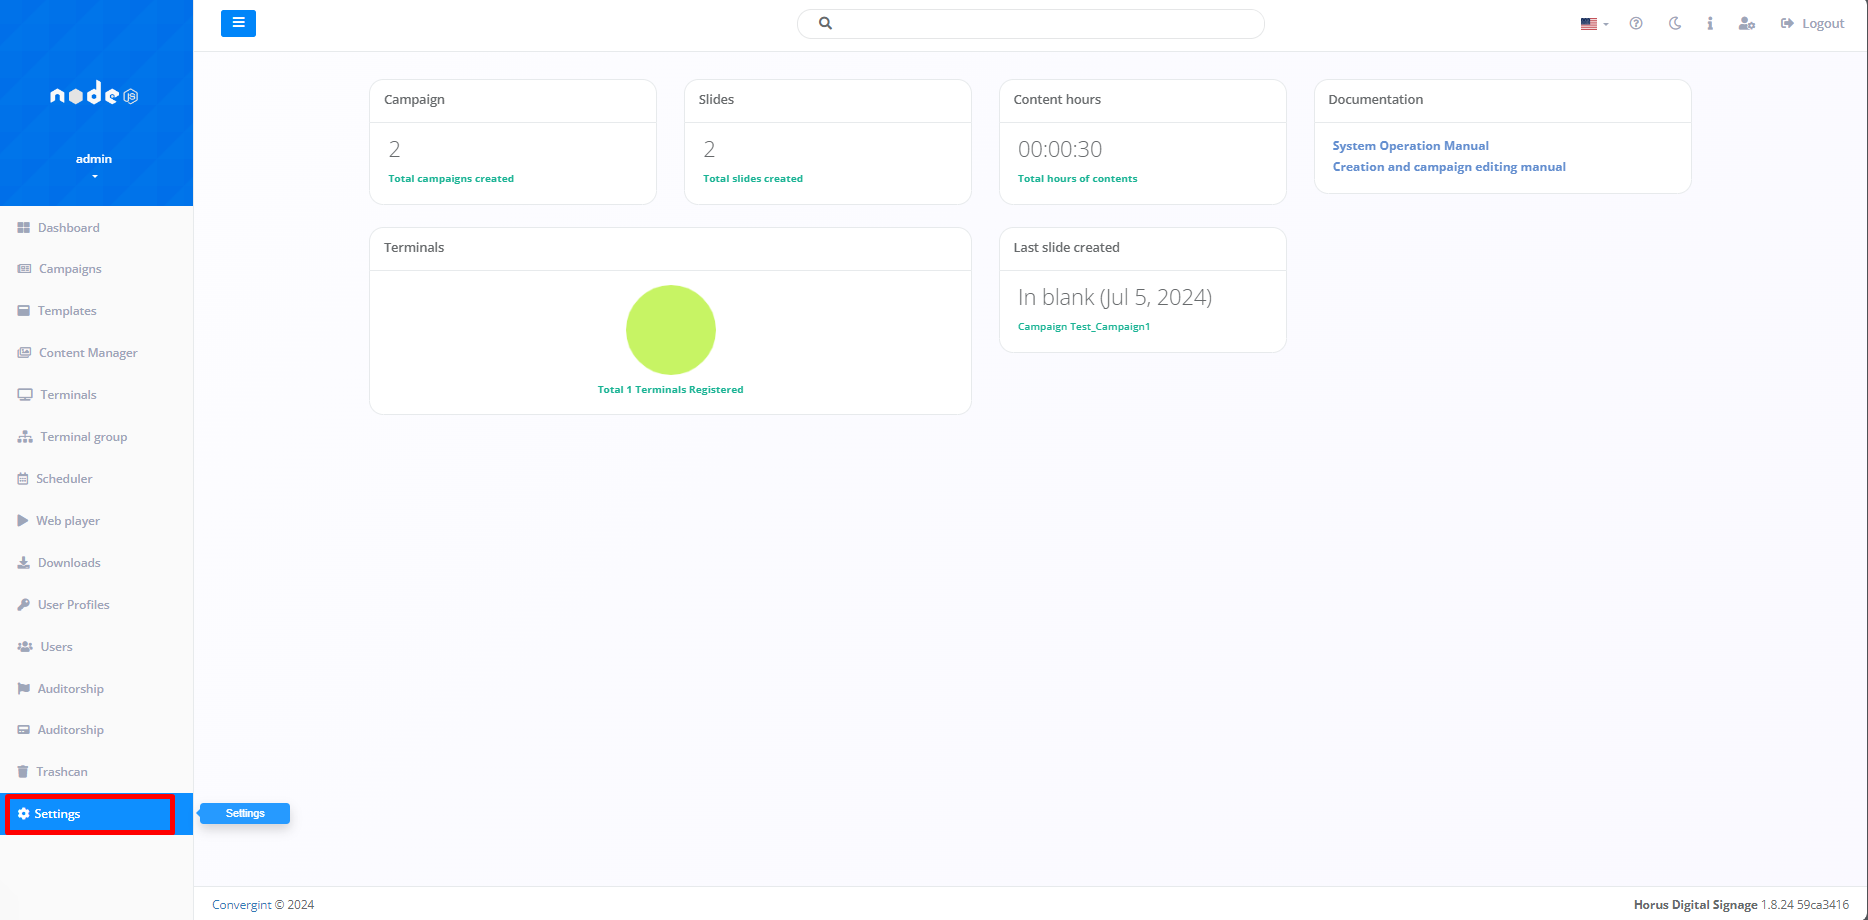
The first step to creating a Trigger in our system is to access the "Settings" tab. This function allows you to automate the execution of actions based on specific events within the configured environment, via the Scheduler function.
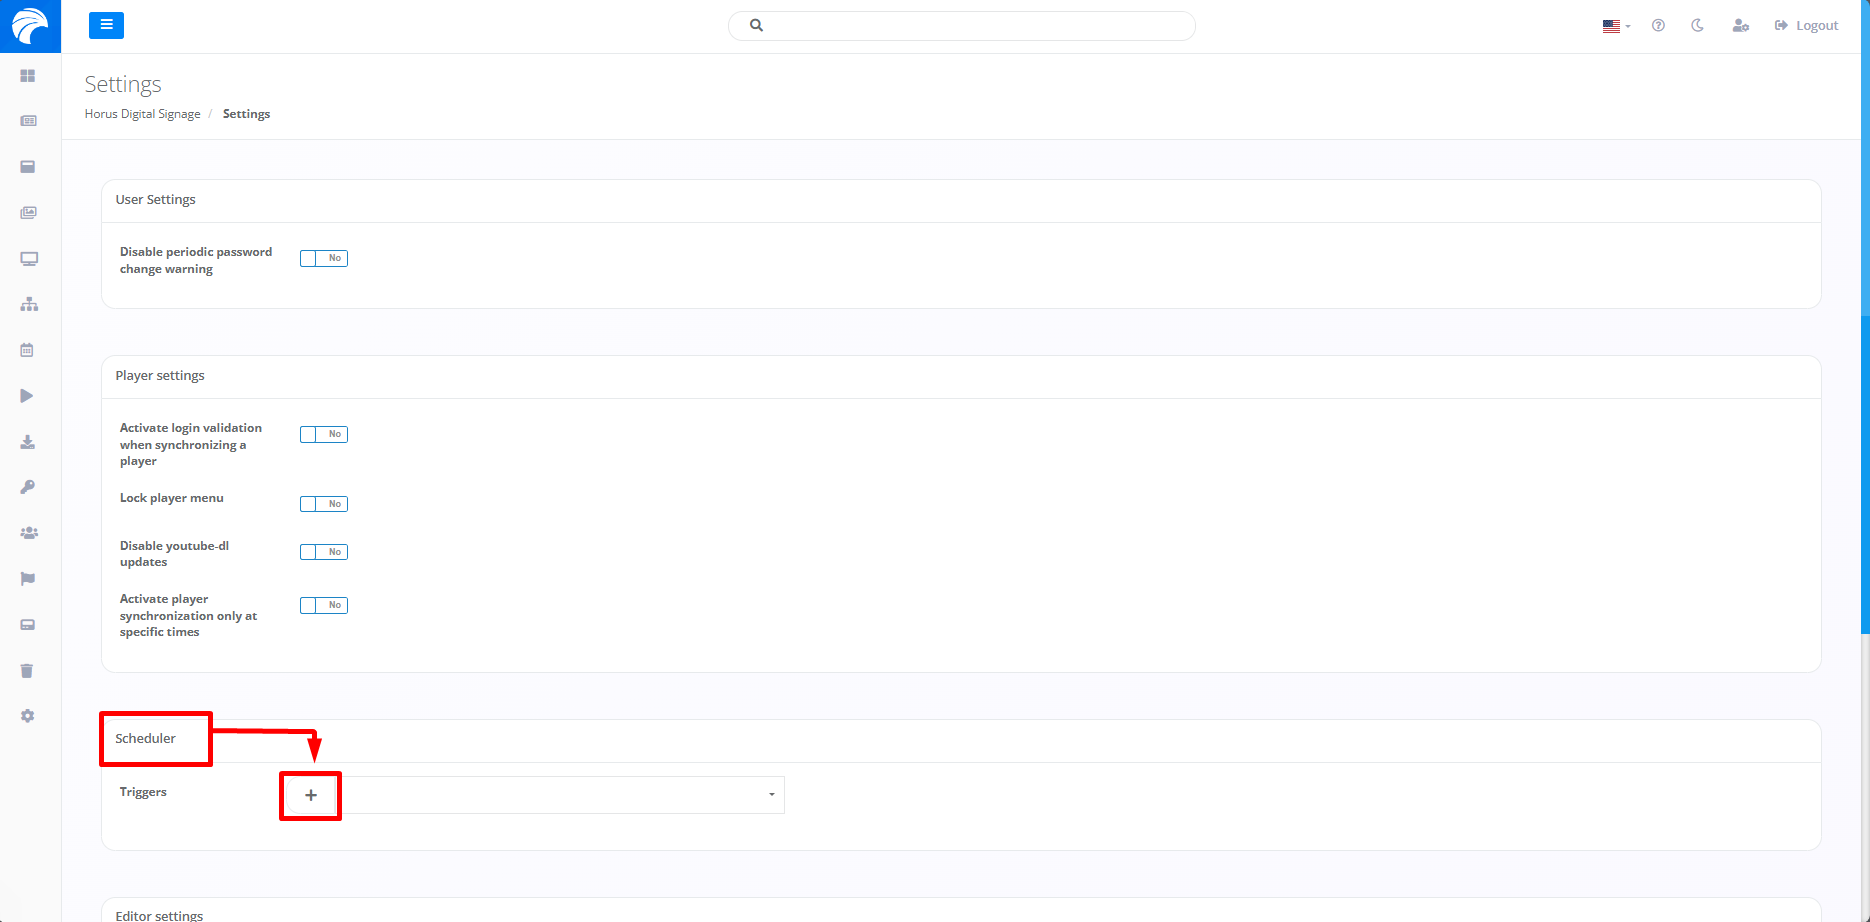
When you access the "Settings" tab, you need to click on the plus button directed to the "Scheduler" topic. This will allow you to create a particular Trigger.
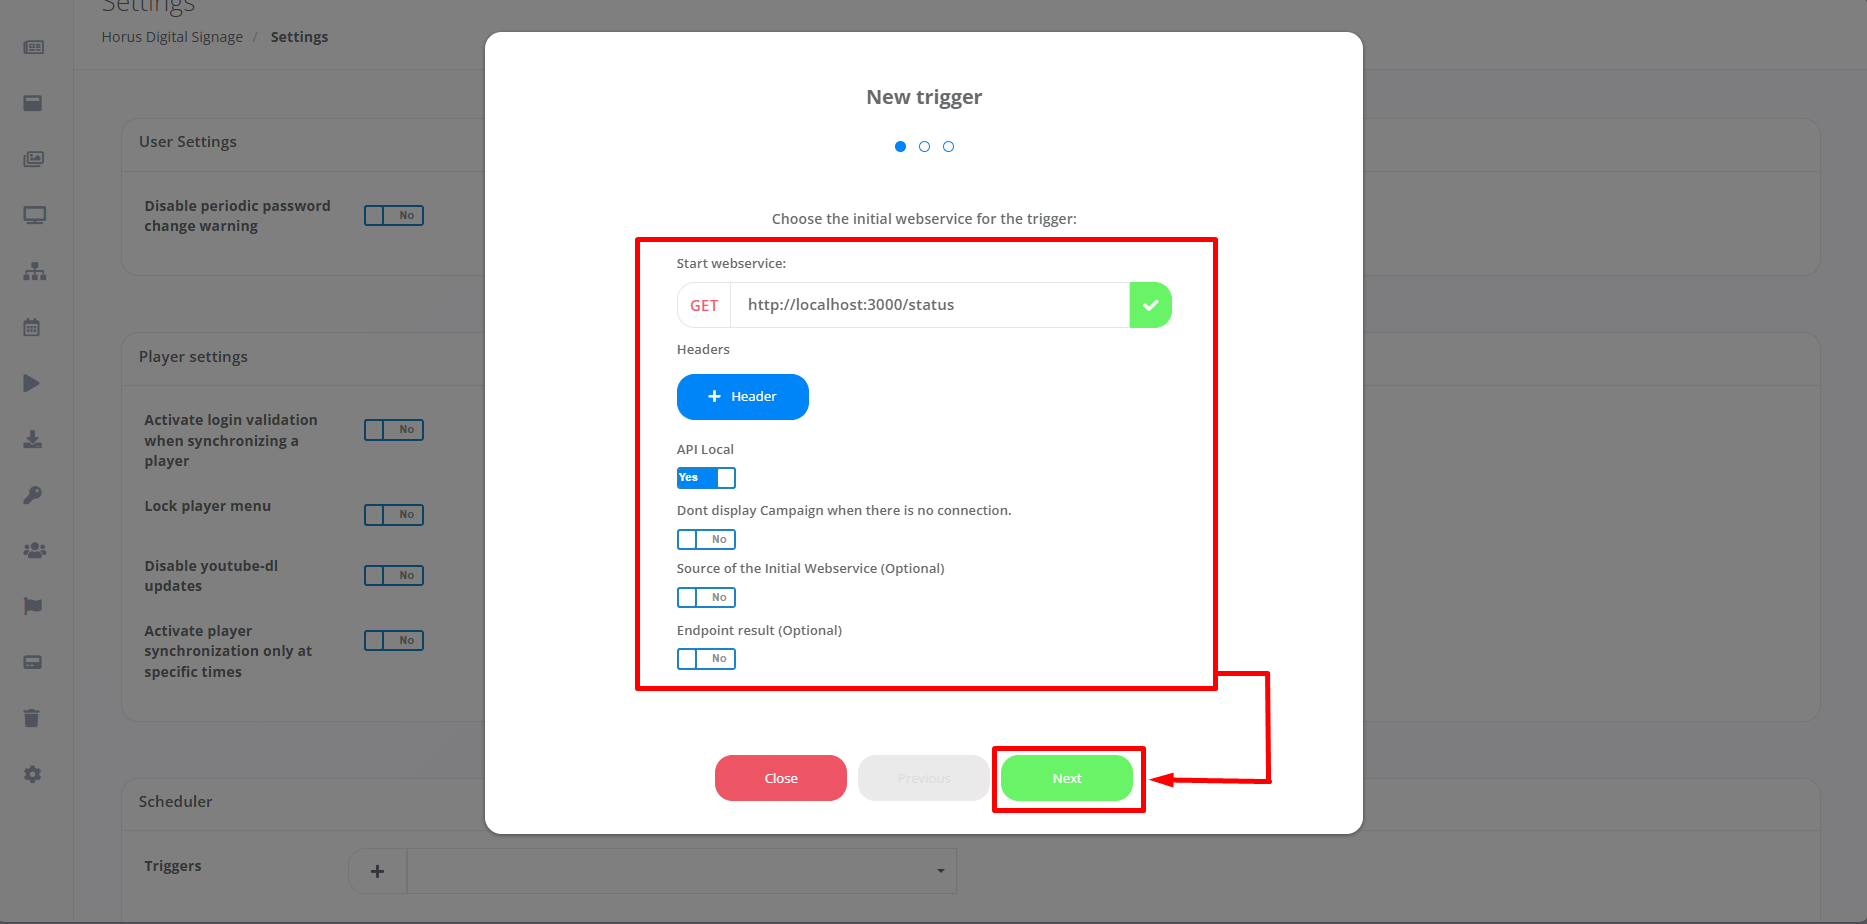
By accessing, you will be able to define crucial factors such as Webservice, Headers, as well as other configuration criteria, and the actions themselves that should be executed in response to activated Triggers.This detailed control allows for precise adjustments to meet the specific needs of the operating environment. Next, click on "Next".
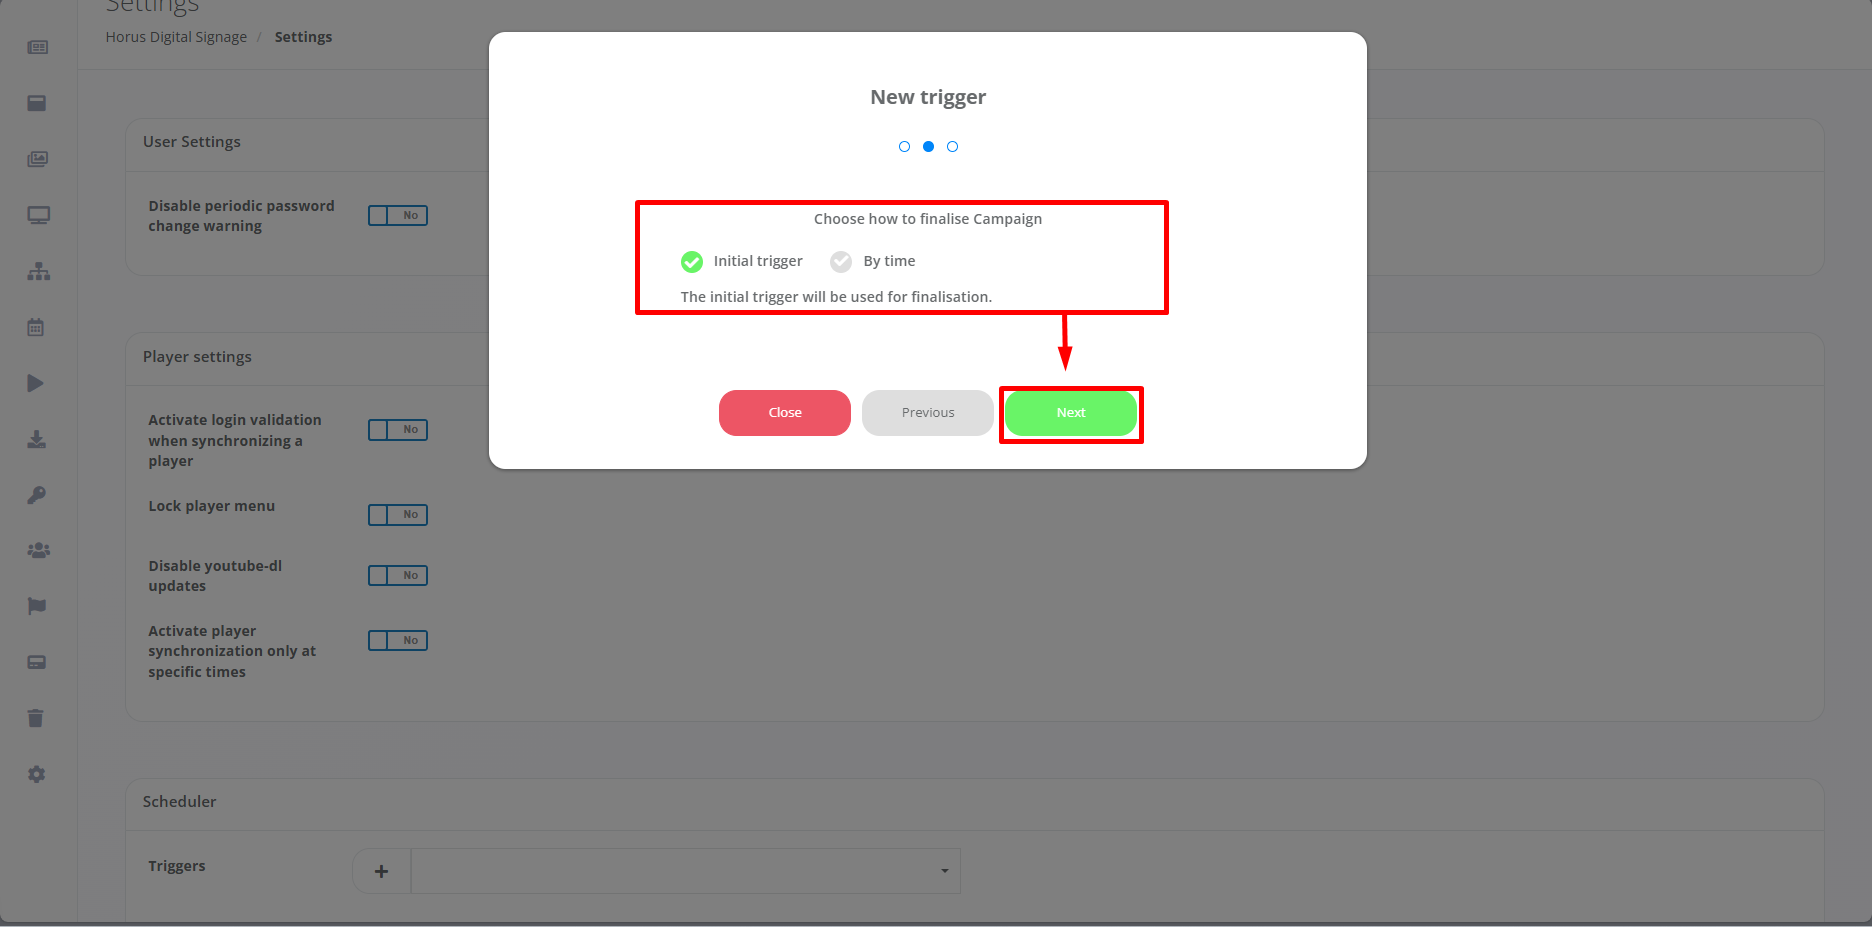
Once the first stage of settings has been completed, users will be able to select the desired method for closing the Campaign. This can be done using the "Initial Trigger" previously configured to determine the time of completion, or by setting a specific time for the Campaign to end automatically ("By Time"). Then click on "Next" again, so that the Trigger Configuration is closed.
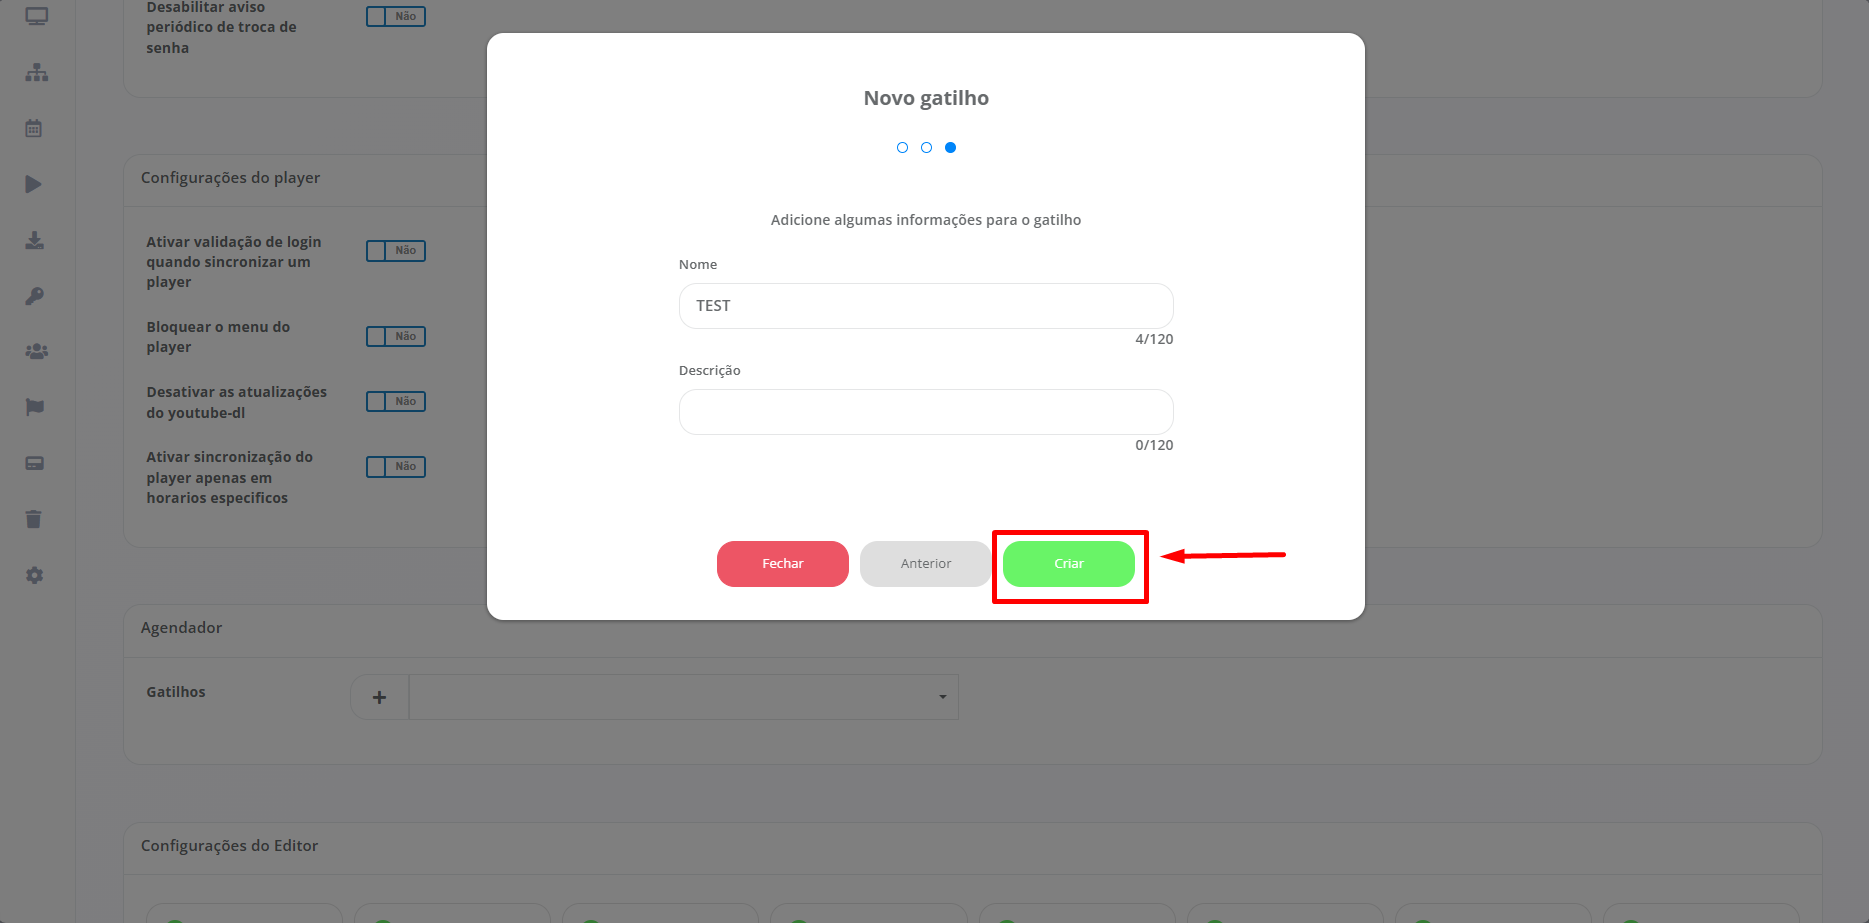
To finalize the Triggers settings, you will need to add a Name and Description (Optional), according to your preference.
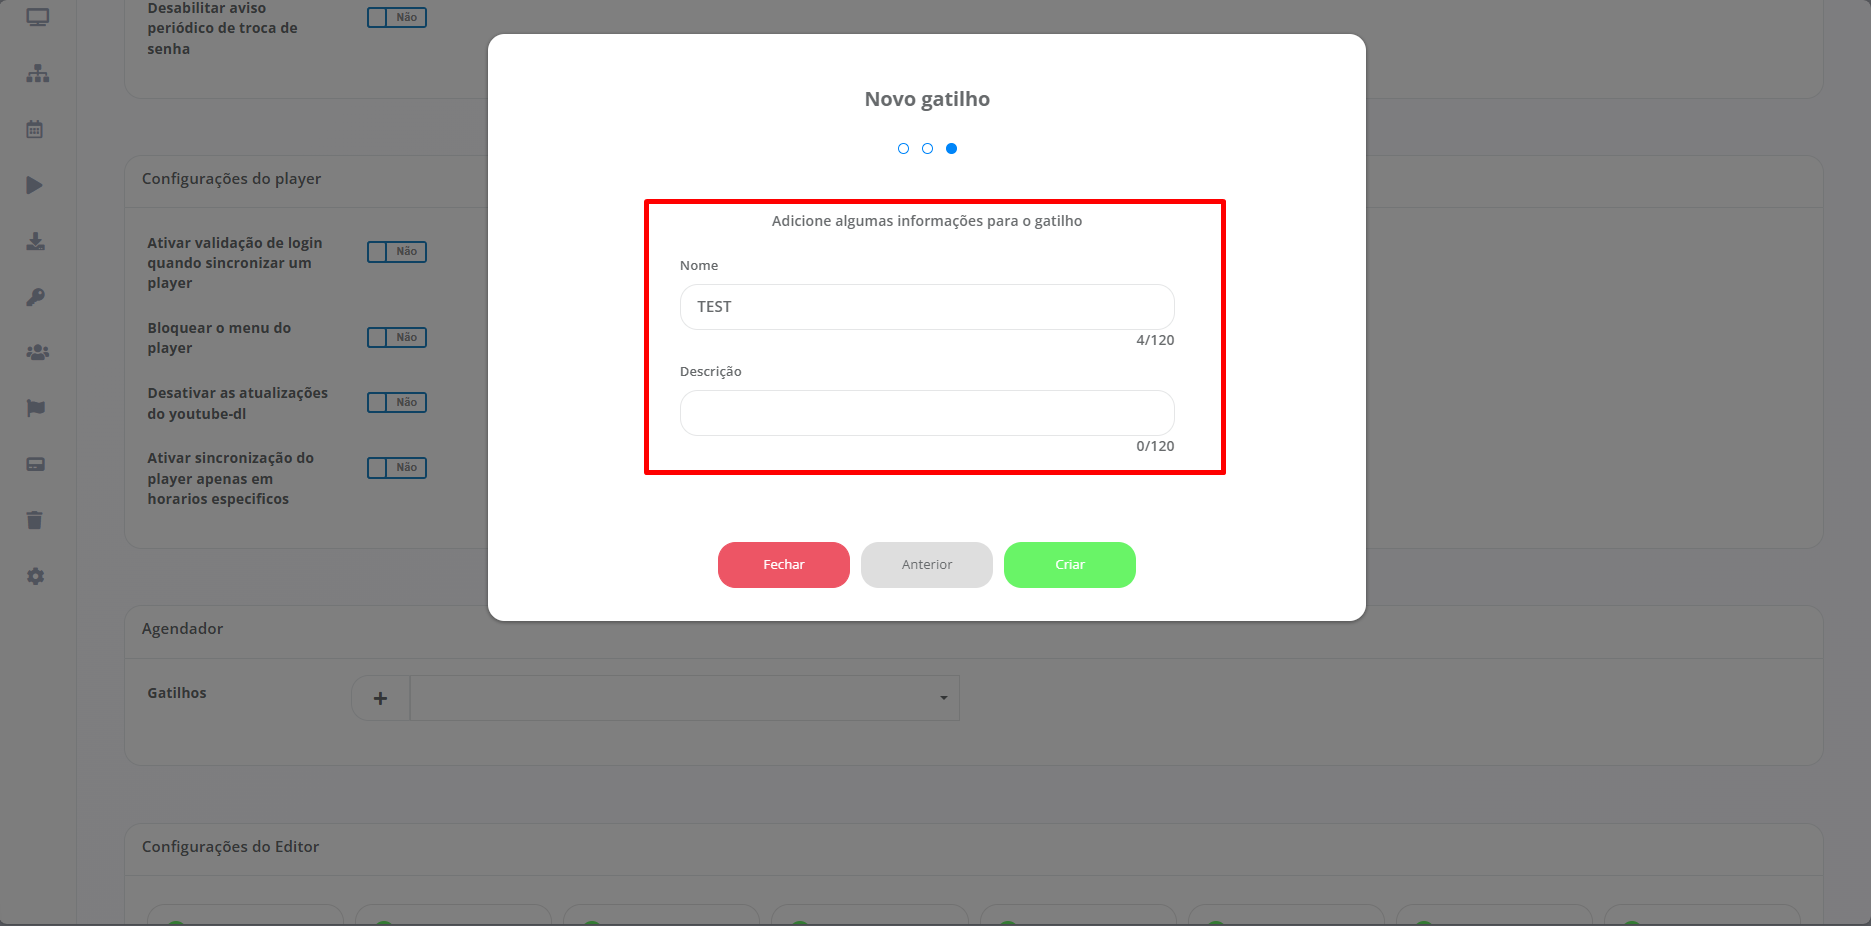
Once you have finished configuring the Triggers properly, it will be essential to click on "Create" to generate the Trigger as configured.